Creating products
This article explains how to create a product in Amaspace using one of four methods: uploading your own 3D model, starting from a ready-made template, requesting a custom model from the Amaspace team, or generating a model with AI (coming soon). It also provides guidance on when to choose each option based on your available assets and workflow needs.
Create a product
Step 1: Open the product creation form
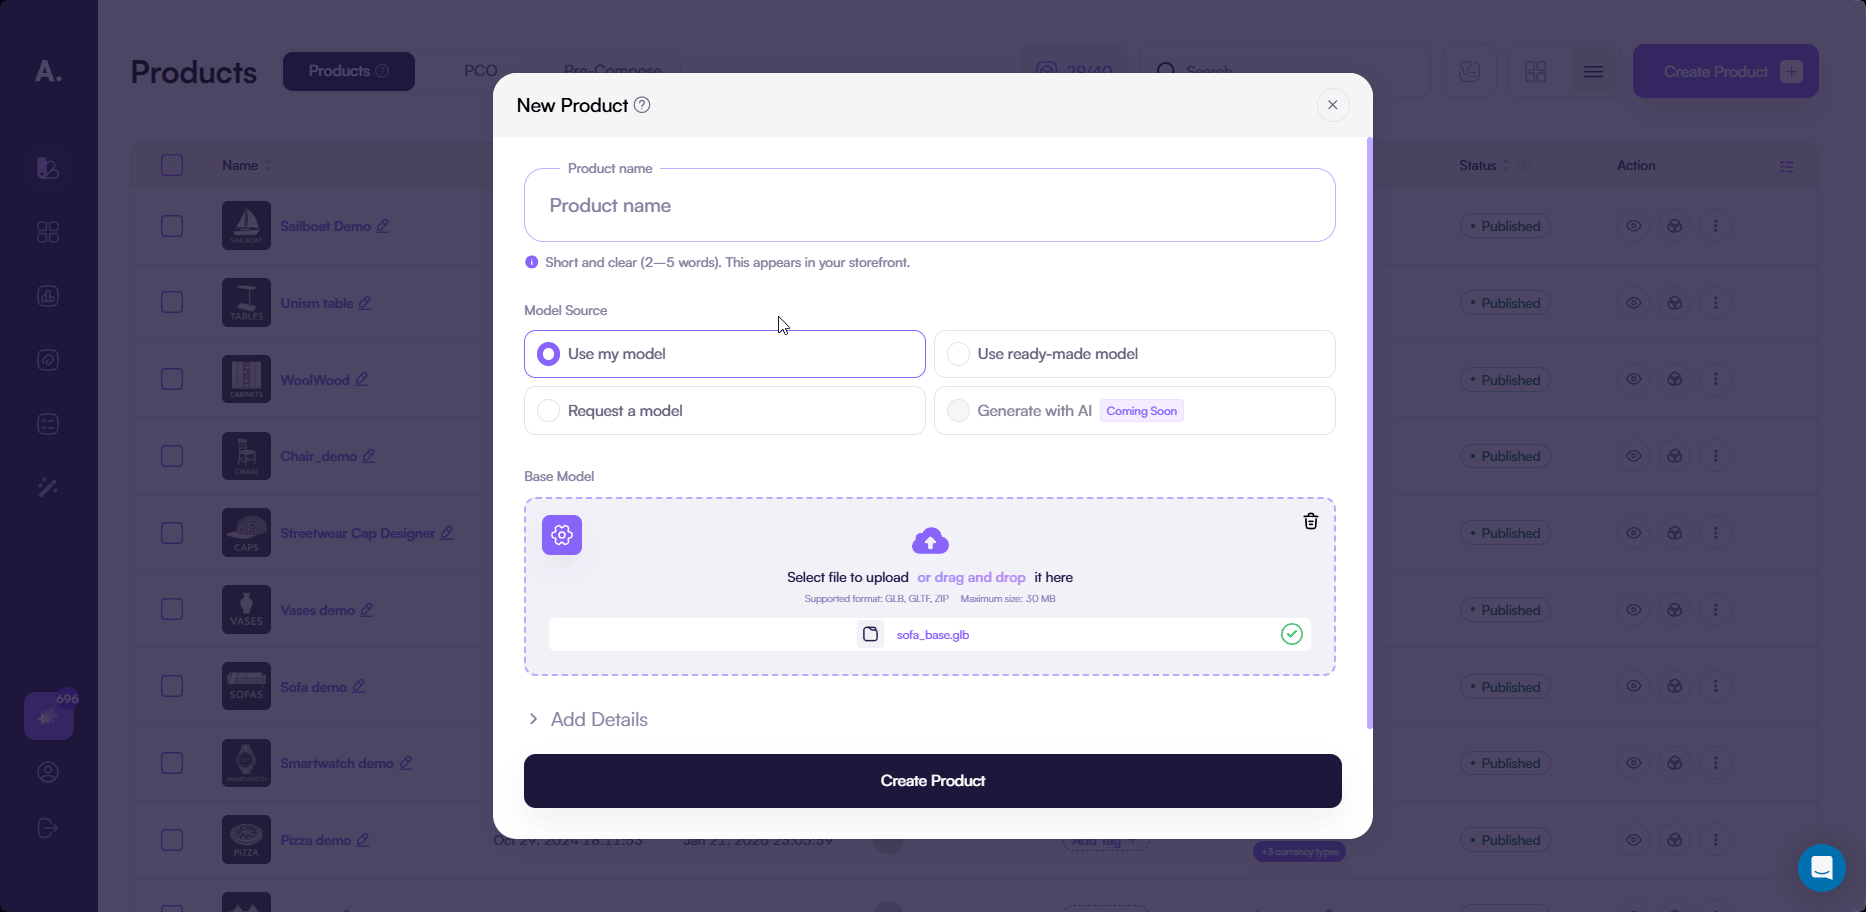
On the Products page, click the Create product button.
A popup opens where you create a new product.
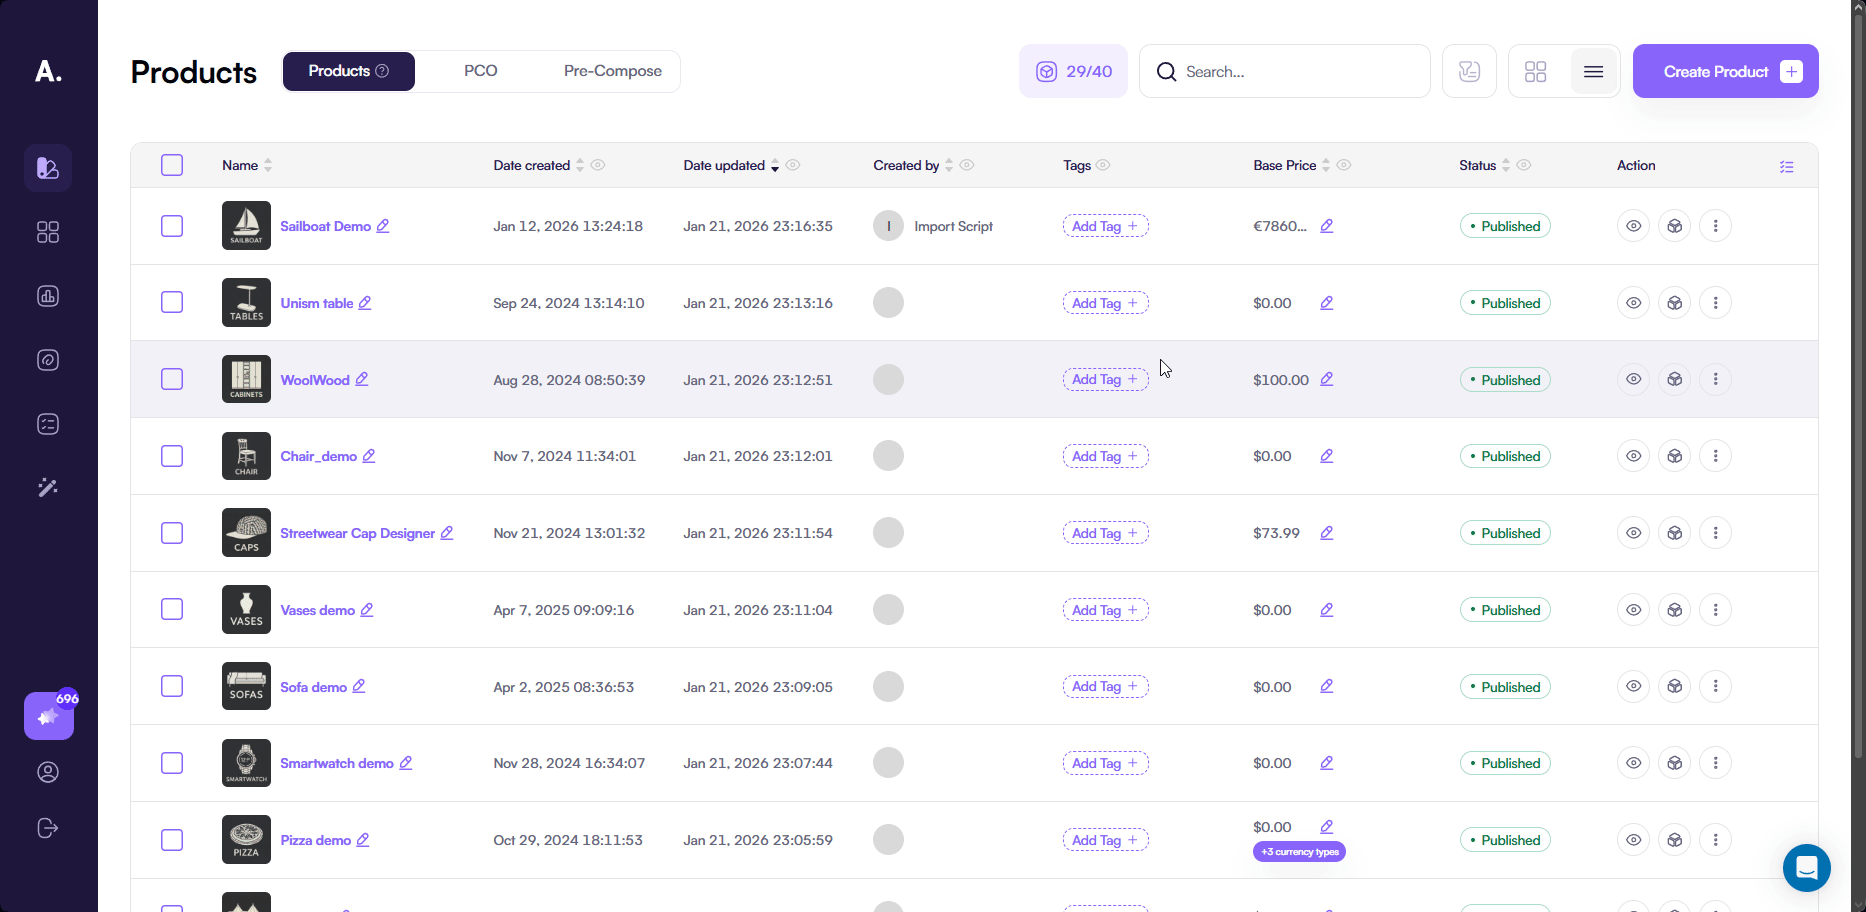
Step 2: Choose how to add a 3D model
In the product creation form, select how you want to add a 3D model for your product.
You can upload your own model, choose a ready-made model from the library, request a custom model, or generate a model with AI (coming soon).

1. Use my model
Choose this option if you already have a 3D model of your product.
Upload your model using the file input. You can drag and drop a file or click the field to select a file from your device.
Supported formats:
.glb.gltf.zip

Uploading a model is optional.
If you skip this step, Amaspace creates an empty 3D scene for the product.
You can upload, replace, or remove the model later at any time.
Optional: Texture compression settings
This option is optional. By default, Amaspace compresses textures automatically and converts them to WebP.
Click the settings button only if you want to customize texture compression.
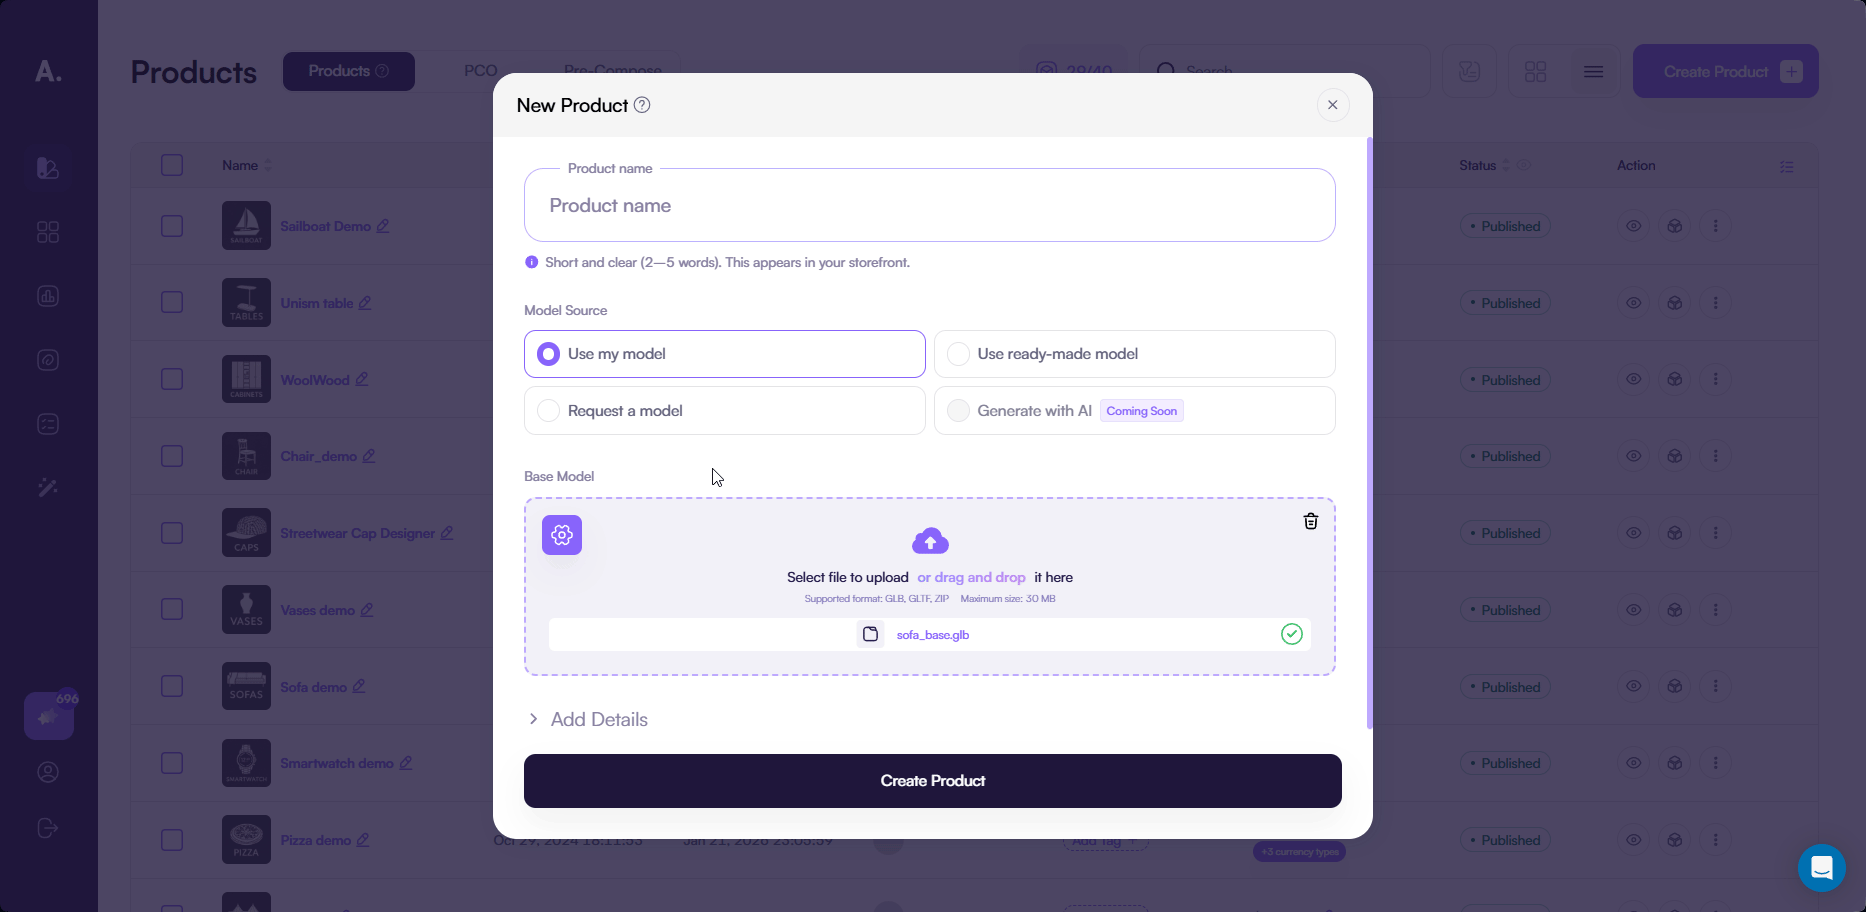
For PNG, JPG, and WebP, you can configure:
- Width — the texture width in pixels
- Height — the texture height in pixels
- Quality — controls image quality and file size
For KTX2, you can configure:
- Width — the texture width in pixels
- Height — the texture height in pixels
- Compression format — defines how textures are compressed
If you select ETC1S, additional options appear:
- Quality — balances visual quality and compression
- Compression — controls compression strength
If you select UASTC, an additional option appears:
- Level — defines compression level
2. Use ready-made model
Choose this option if you want to start with a ready-made 3D model from the Amaspace library.
In the Model Source section, select Use ready-made model, then click Select Ready-Made Model from Template.
A modal opens with the library of available product models.
When you select a model, it is added to your product and becomes the base 3D scene.
Some models are available only on specific plans.
👉 See Subscriptions to learn more about plan limits.
3. Request a model
Choose this option if you do not have a 3D model or if your product requires a custom solution.
When you select Request a model, the product creation form changes to a request form.
Use this form to describe your product and submit a modeling request to the Amaspace team.
Request form fields
- Project title (required)
Enter a short name for your project.

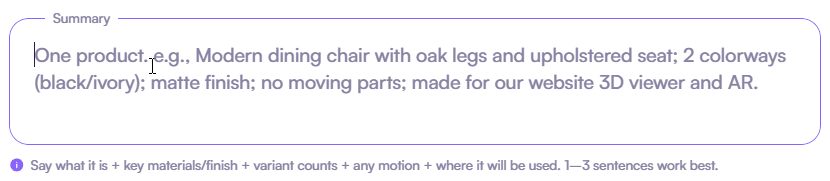
- Summary (required)
Describe your product and modeling requirements in detail.
Include materials, shape, important details, and the expected result.
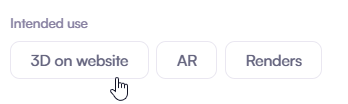
- Intended use (required)
Select how you plan to use the 3D model.
This is a multi-select field.
- Refs (required)
Upload reference images, textures, sketches, or similar materials.
You can upload from 1 to 10 images.
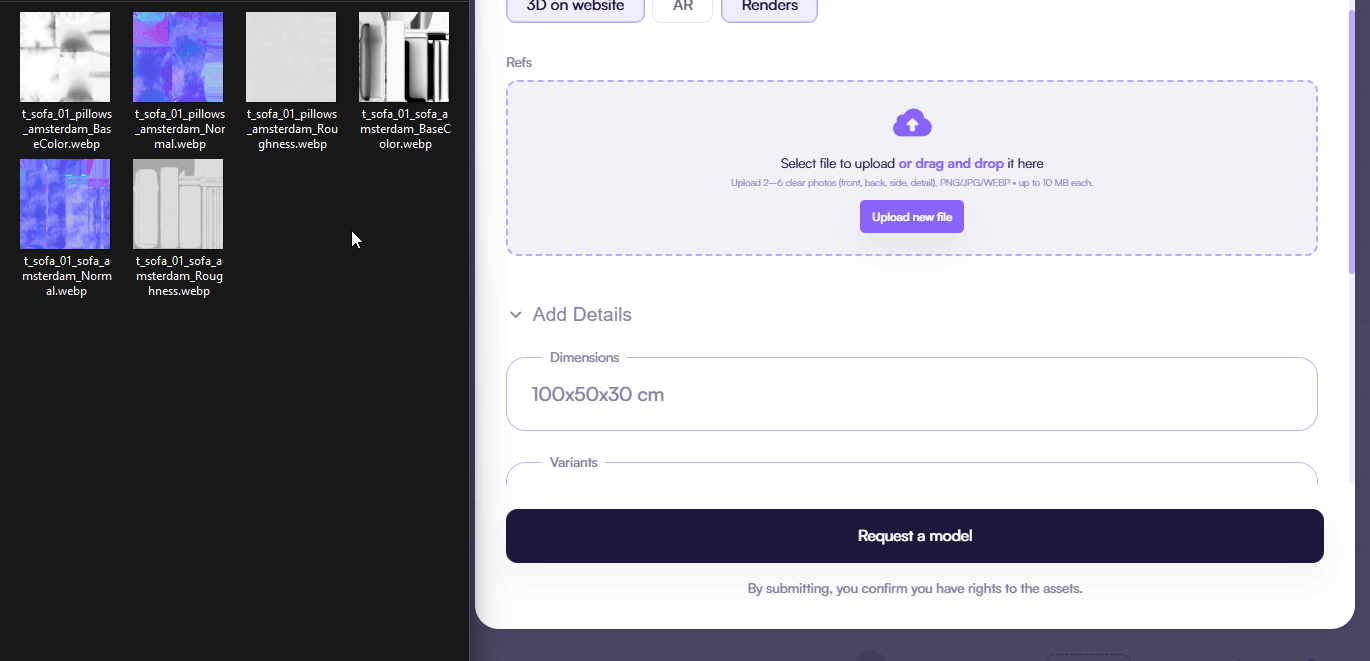
- Dimensions (optional)
Specify product dimensions if available.

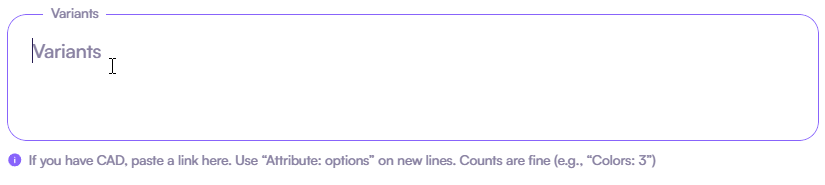
- Variants (optional)
Describe product variants or options.
You can also include a link to CAD files.
- Deadline (optional)
Choose whether your deadline is flexible or select a specific date.
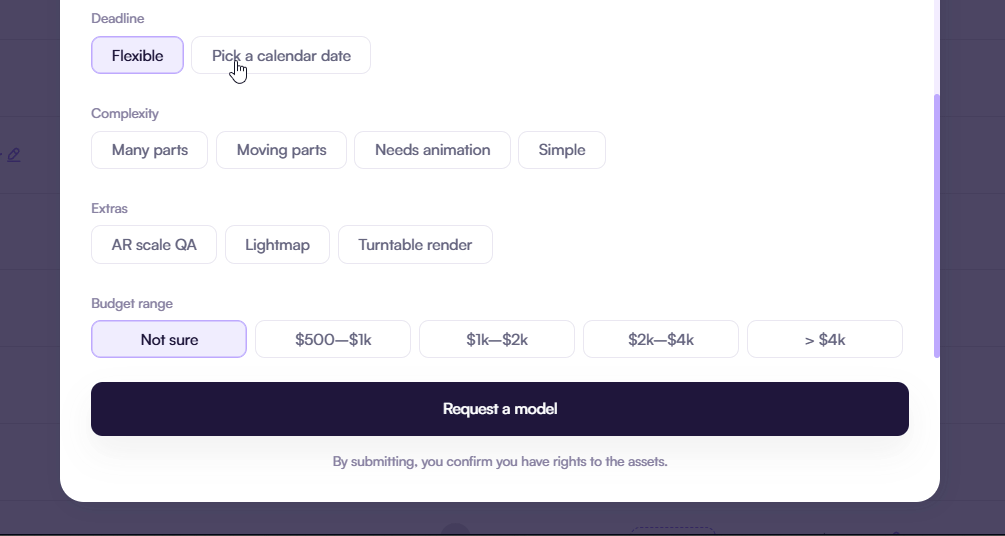
- Complexity (optional)
Describe the overall complexity of the product.
This is a multi-select field.

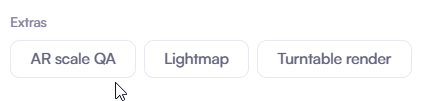
- Extras (optional)
Select additional 3D features, such as AR support or renders.
- Budget range (optional)
Specify your expected budget or choose Not sure.

After you complete the form, click Request a model.
Your request is sent to the Amaspace team. We review the details and contact you shortly with a proposal.
4. Generate with AI (coming soon)
This option lets you generate a 3D model using AI.
The feature will be available soon.
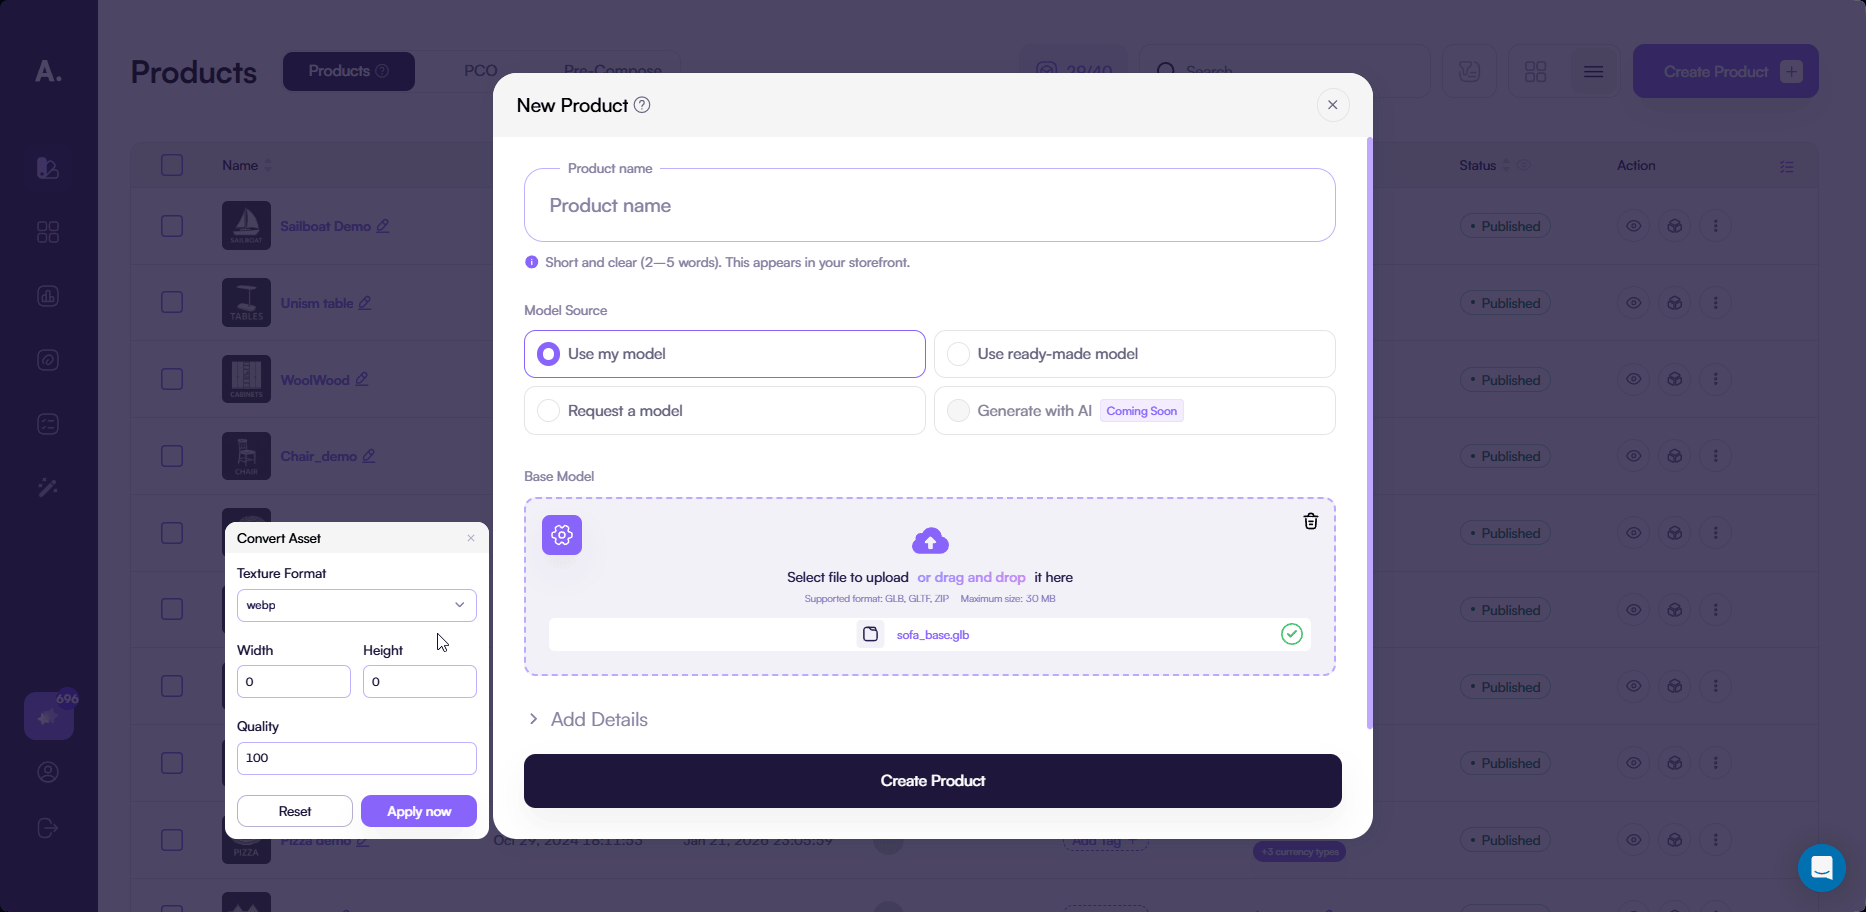
Step 3: Fill in the product details
After you choose how to add a 3D model, fill in the remaining product fields.
These fields apply when you use Use my model or Use ready-made model.
Only the Name field is required. All other fields are optional and can be updated later.
- Name (required)
Enter the product name.
This name identifies the product inside the platform and appears in the configurator.
Minimum 3 characters, maximum 60 characters.
- Description (optional)
Describe what the product is.
This text appears in the configurator and helps users understand what they are customizing.
- Tags (optional)
Add tags to organize products inside the admin dashboard.
Tags help with searching and filtering and do not affect the configurator.
- Base price (optional)
Set the starting price of the product.
Additional options and upgrades adjust the final price through pricing conditions.
- Show prices (optional)
Choose whether prices should appear in the configurator.
Disable this option if you want to hide prices during product customization.
- Currency (optional)
Select one or more currencies for the product.
This allows you to display prices for different markets.
- Preview (optional)
Upload a preview image for internal use.
This image helps you recognize products quickly in the dashboard and does not appear in the configurator.
👉 See Products to learn more about product fields and pricing options.
The video below shows an example of filling in the product fields with real product data.
Step 4: Create the product
After you fill in all required fields, click Create product.
The product is created in Draft status.
This lets you review and adjust the product before making it available in the configurator.
Product creation may take some time, especially when you upload a large 3D model.
During this process, Amaspace prepares the 3D scene and processes assets.
Do not close the page or switch browser tabs while the product is being created.
Common issues
The model does not appear in the product
Make sure you uploaded or selected a 3D model during product creation.
If the model field is empty, the product uses an empty 3D scene.
You can upload or change the model at any time.
The product does not appear in the configurator
Check the product status.
Newly created products start in Draft status and do not appear in the configurator.
Publish the product when it is ready to make it available.