Light Sources
Overview
Light sources define how your product is illuminated in the 3D Editor. Proper lighting improves material readability, surface detail, and overall visual quality. In Amaspace, lighting should stay simple and predictable to ensure stable performance across devices.
Where to add lights
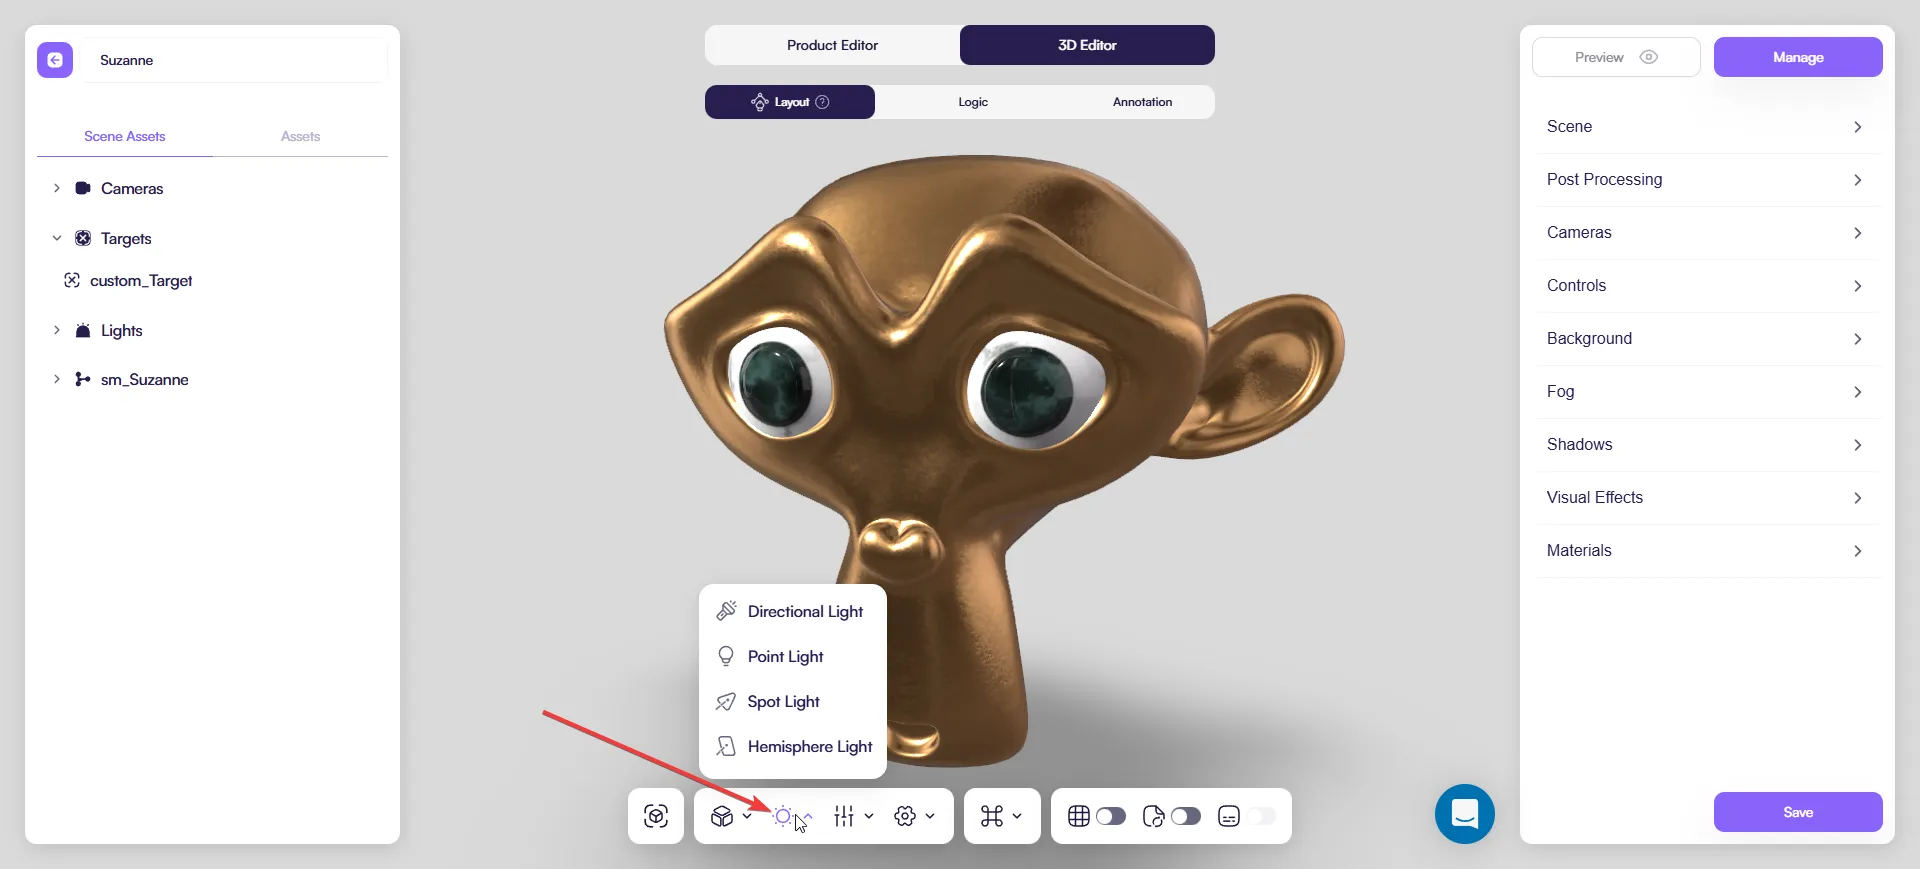
You can add and manage lights directly in the 3D Editor.
- Open 3D Editor.
- Use the Light menu in the bottom toolbar.
- Choose the light type you want to add.
Each light appears as a separate object in the scene and can be positioned and configured independently.
Directional Light
Simulates light coming from a distant source, similar to sunlight.
Common uses:
- Main scene lighting
- Strong, directional shadows
- Outdoor-style illumination
Key settings:
- Position — light direction
- Intensity — light strength
- Color — light tint
- Target — point the light is aimed at
Directional Light is usually the primary light source in most configurators.
Point Light
Emits light in all directions from a single point.
Common uses:
- Lamps
- Local highlights
- Interior lighting
Key settings:
- Position
- Intensity
- Color
Use Point Lights sparingly to add localized highlights.
Spot Light
Emits light in a cone shape, similar to a flashlight or spotlight.
Common uses:
- Focused lighting on specific parts
- Accents and highlights
Key settings:
- Position
- Angle — cone width
- Intensity
- Color
Spot Lights are useful for drawing attention to details but can quickly overcomplicate a scene.
Hemisphere Light
Provides ambient lighting from above and below.
Common uses:
- Soft base illumination
- Filling dark areas without hard shadows
Key settings:
- Intensity
- Sky Color
- Ground Color
Hemisphere Light does not cast shadows and is often used as a subtle fill light.
Cast Shadows
Shadows are disabled by default. When you enable Cast Shadows, additional shadow controls become available.
Important notes:
- Shadows impact performance
- Enable Cast Shadows on one light only
- In big scenes enable** Cast Shadows only on Directional Light type - it saves performance**
Shadow settings
Visible only when Cast Shadows is enabled.
Key settings (tune these first)
Near / Far
- Controls the shadow depth range
- Keep the range tight around the product for cleaner, more stable shadows
Resolution
- Controls shadow sharpness
- Start low and increase only if shadows look too blurry
Advanced fixes (optional)
These usually work well at default values. Adjust only if you see issues:
- Camera Size — shadow coverage area. Reduce it to sharpen shadows (as long as the product stays covered).
- Bias / Normal Bias — fix acne (speckles) or flicker. Increase slightly; if shadows start floating, reduce.
Best practices
- Start with one Directional Light
- Add Point or Spot Lights only when needed
- Enable Cast Shadows on one light source only
- Multiple shadow-casting lights often look incorrect and reduce performance
- Keep shadow settings minimal and always test on mobile