Theme Editor
This section explains how to use the Theme Editor in Amaspace to customize the configurator sidebar and contact form. It covers how themes work, how they are assigned to products, and how to manage multiple themes across your catalog.
You learn how to create new themes, edit existing ones, and control product assignments. The section also explains what happens when you reassign products between themes or delete a theme, and how Amaspace handles default themes in these cases.
What is a theme
A theme defines the visual and structural setup of the configurator for your products. It controls how the sidebar looks and behaves, and optionally includes a contact form that customers can use to get in touch or send a request.
The contact form is not required. You decide whether a theme includes a contact form or not. If enabled, you can create and customize the form, while its visual style (colors, typography, spacing) automatically follows the theme settings to stay consistent with the rest of the configurator.
You can use one theme for all products or create multiple themes for different product groups. Each product can be linked to only one theme at a time, which helps maintain a clear and predictable user experience.
⚠️ Theme Editor availability
The Theme Editor is available only on specific subscription plans. If your current plan does not include access to the Theme Editor, theme creation and customization options are disabled.
👉 See Subscriptions to learn more about plan limits and feature availability.
Get started with Theme Editor
Once you understand how themes work, you can start using Theme Editor to configure how your products appear in the configurator. This is where you define the sidebar structure, visual styles, and decide whether a theme includes a contact form.
Start by creating your first theme and assigning it to your products. If your flow requires customer interaction, you can then set up a contact form that automatically follows the theme styles.
👉 Start with Creating themes to create and configure your first theme.
👉 Continue with Contact form setup if your theme requires a contact form.
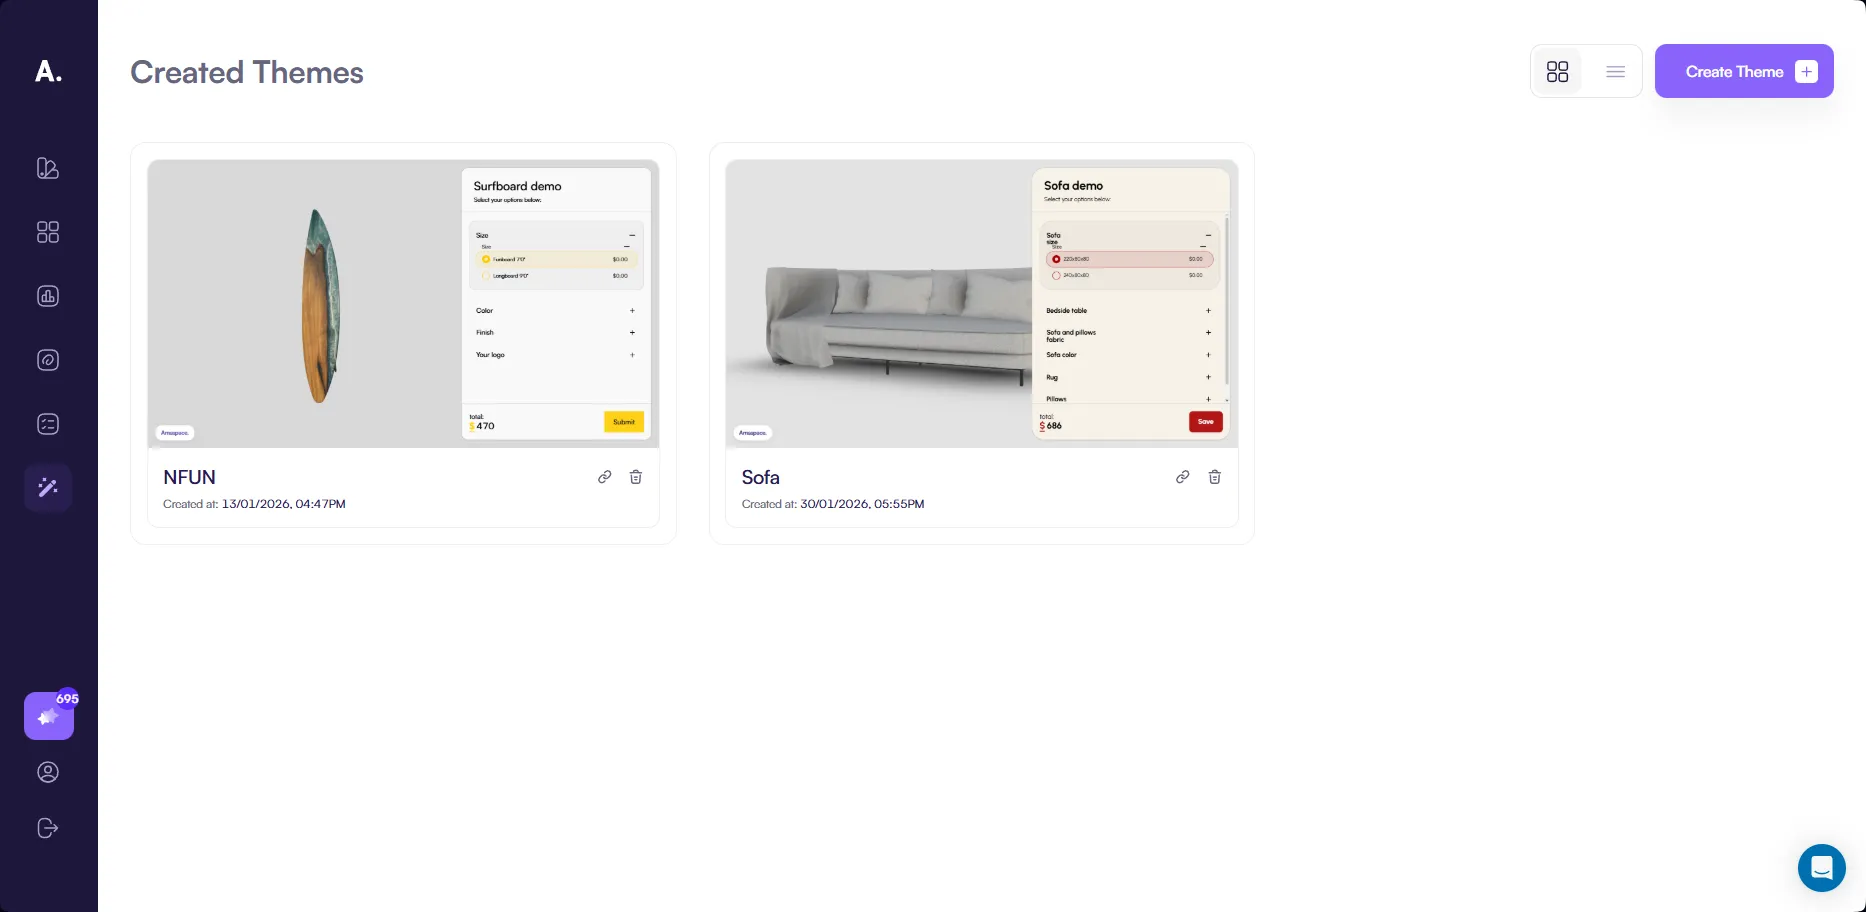
Managing themes
The themes page at
👉 https://app.amaspace.co/theme-editor
shows all themes created in your workspace. From this page, you can review existing themes, open them for editing, manage product assignments, and delete themes when they are no longer needed.
Click a theme to open it in edit mode. The editing experience is the same as when creating a theme, allowing you to update sidebar settings, visual styles, and contact form configuration in one place.
Managing product assignments
Each theme includes a list of products assigned to it. You can open the products menu to see all linked products and manage their assignments.
You can manage products in the following ways:
- Remove a product from the theme by clicking the delete icon next to it
- Add new products by clicking Add product
- Select products from the list of unassigned products in the modal window
- Open the configurator to preview how the product looks with the selected theme
If a product is not published, the configurator link may be unavailable. This helps prevent sharing or previewing products that are still in draft status. If a product is already assigned to another theme, adding it to a new theme automatically reassigns the product. The product is removed from the previous theme and linked to the new one.
Deleting a theme
You can delete a theme when it is no longer needed.
When you delete a theme, all products previously linked to it automatically switch to the default theme.