Uploading assets
Overview
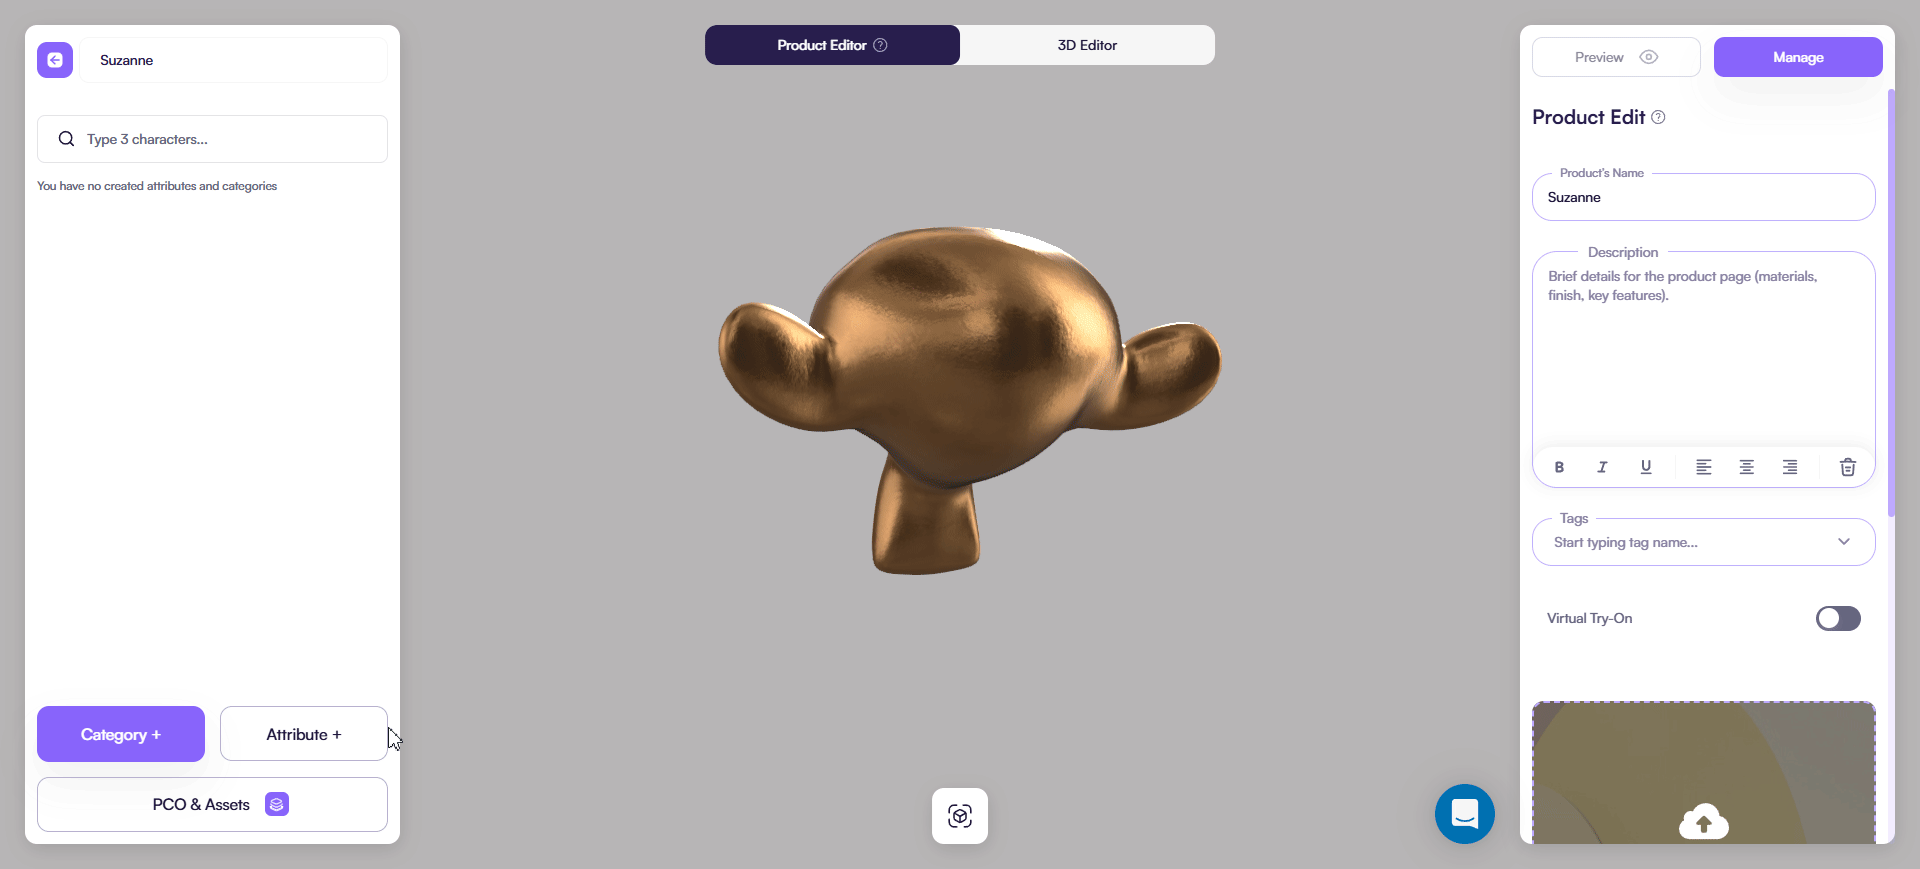
Uploading assets is the first step to making your product configurable in Amaspace. Assets include 3D models, textures, and materials (materials are created inside Amaspace and can reference uploaded textures).
Use the Assets panel as your main entry point. It keeps everything reusable and easy to manage.
Where to upload assets
Upload assets from:
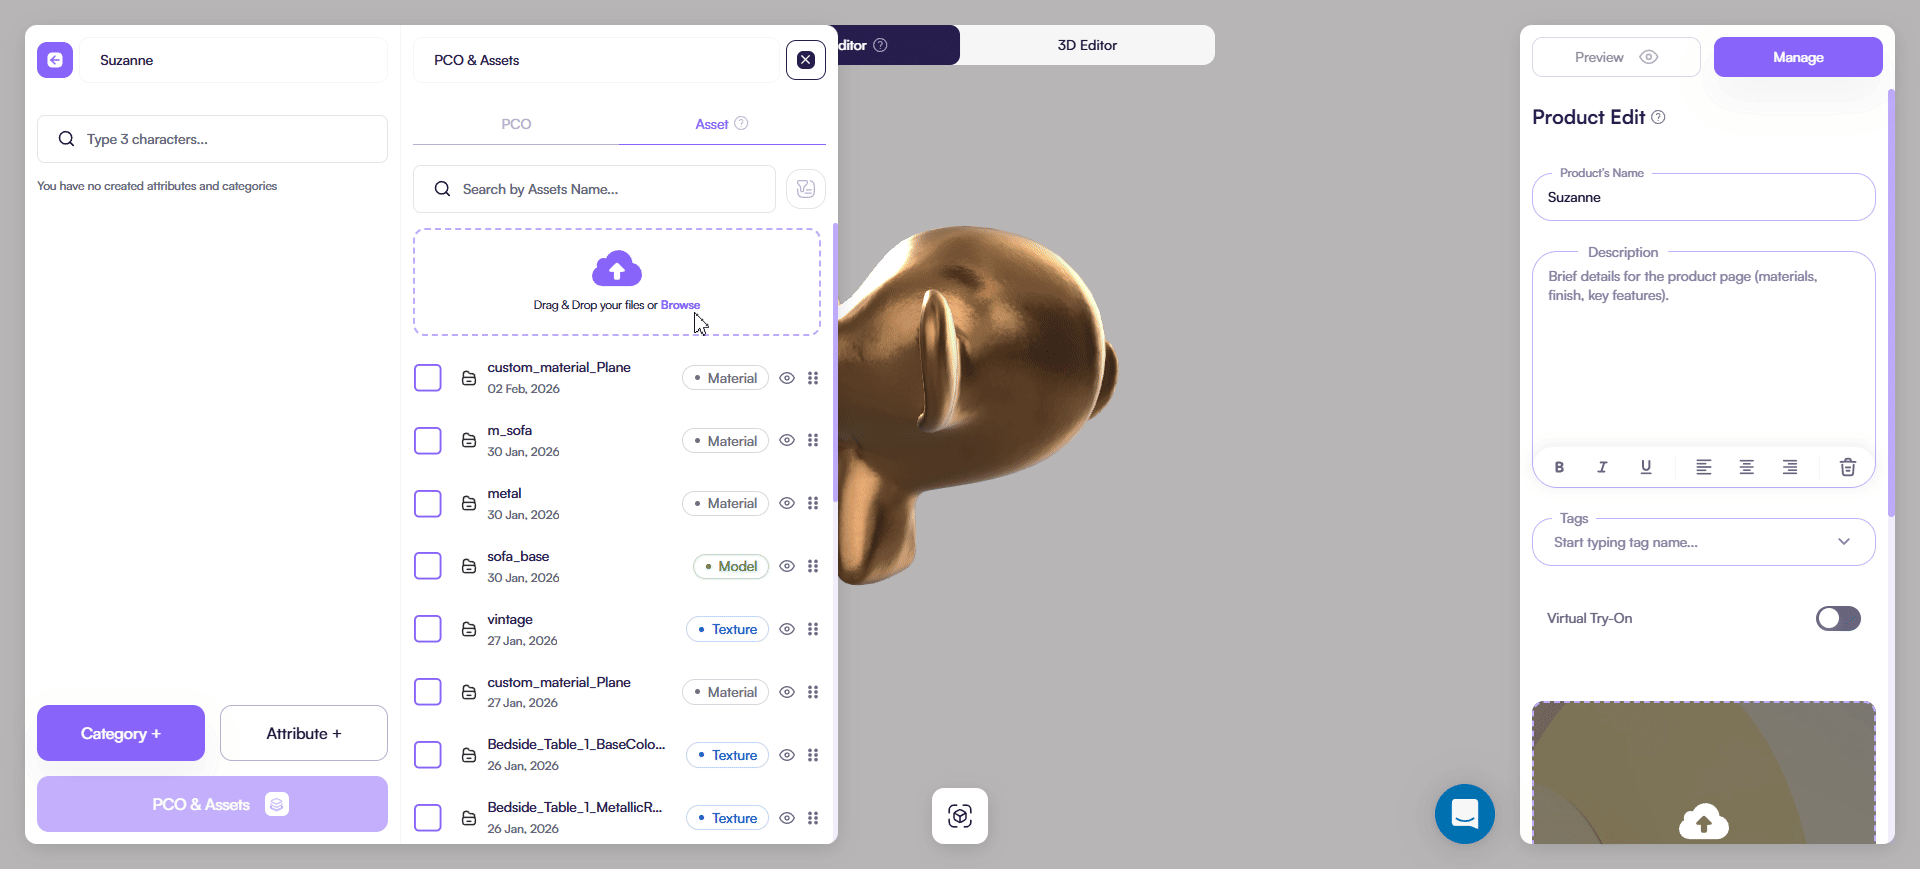
Product → PCO & Assets → Assets tab (recommended)
- Open your product
- Click PCO & Assets
- Switch to the Assets tab
Supported asset types
Amaspace supports these asset categories:
3D Models
- Formats: GLB / GLTF
- One model per file
- Include geometry, UVs, and materials
Textures
- Formats: PNG / JPG / WEBP
- Used for Base Color, Roughness, Metalness, Normal, AO, and other maps
Materials
- Created inside Amaspace
- Can reference uploaded textures
File size limits
- 3D models (GLB/GLTF): up to 30 MB per file
- Images / textures (PNG, JPG, WEBP): up to 10 MB per file
If a file is larger than the limit, optimize it before uploading:
- Reduce texture resolution
- Compress images
- Simplify geometry
Upload files
- Open PCO & Assets → Assets
- Click Upload or drag & drop files into the upload area
- Select one or multiple files
- Confirm the upload
After upload, assets appear immediately in the Assets list and can be reused across the product.
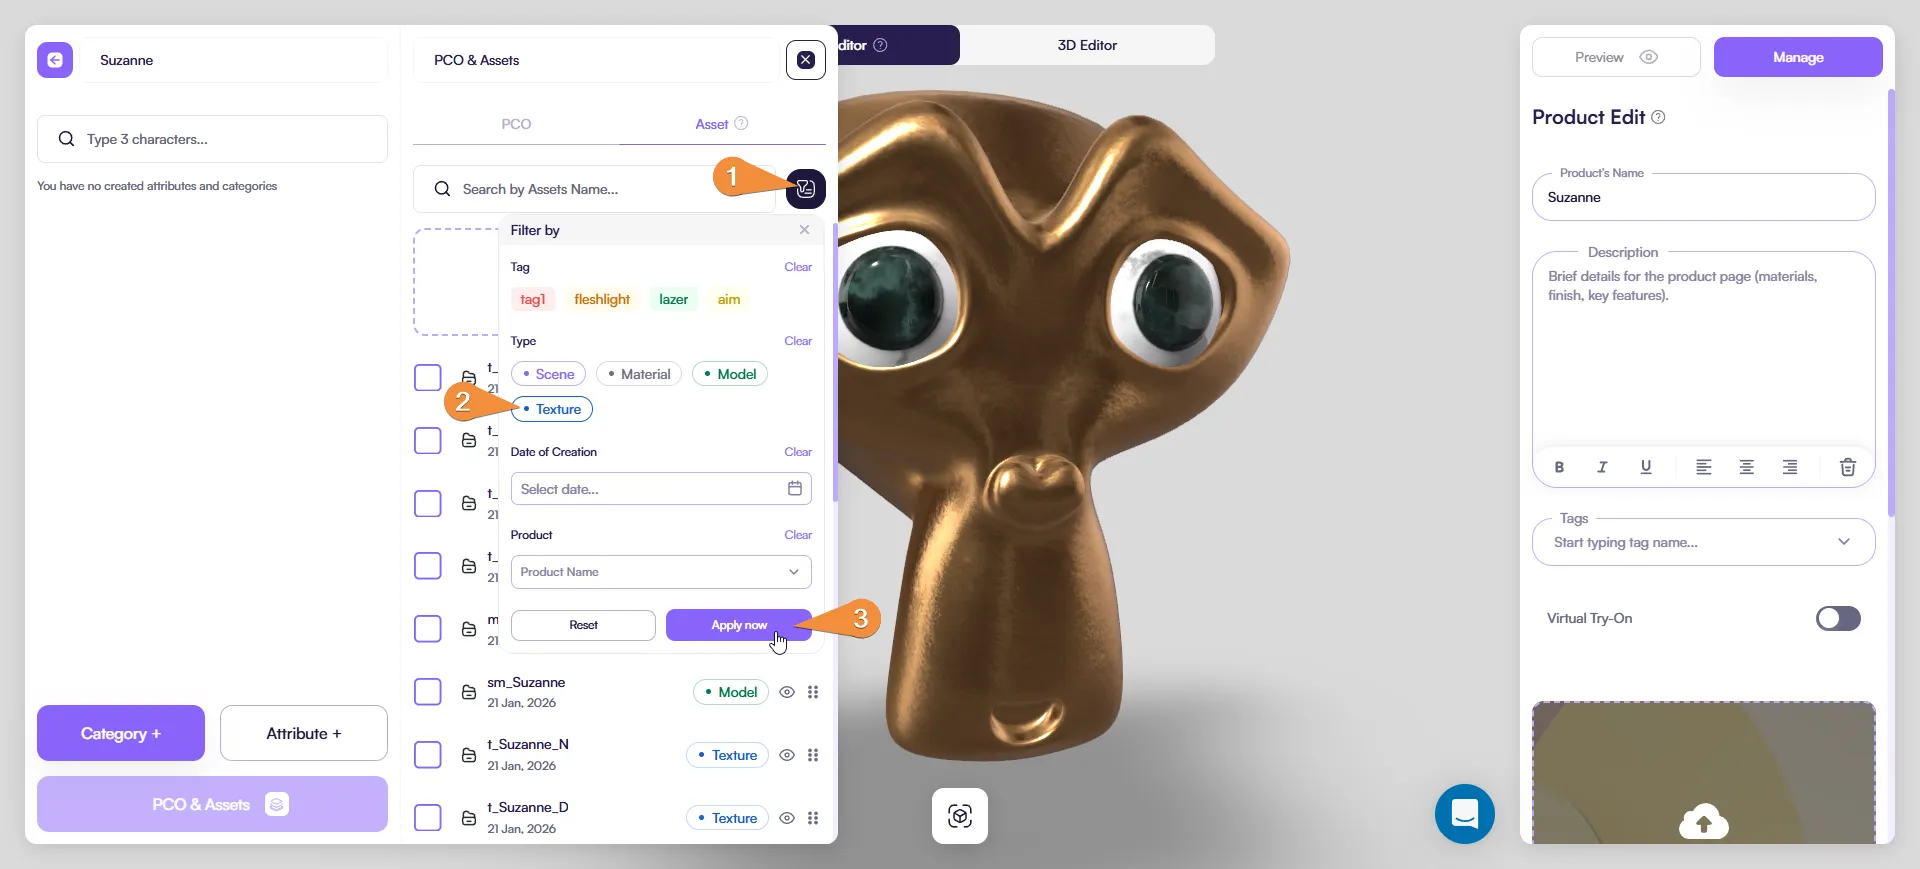
Filter to show textures only (optional)
After uploading, you can filter the asset list.
- Click the filter (funnel) icon
- Enable Textures
Now you see only texture assets.
Note: This filter is described in more detail in the Working with Assets article.
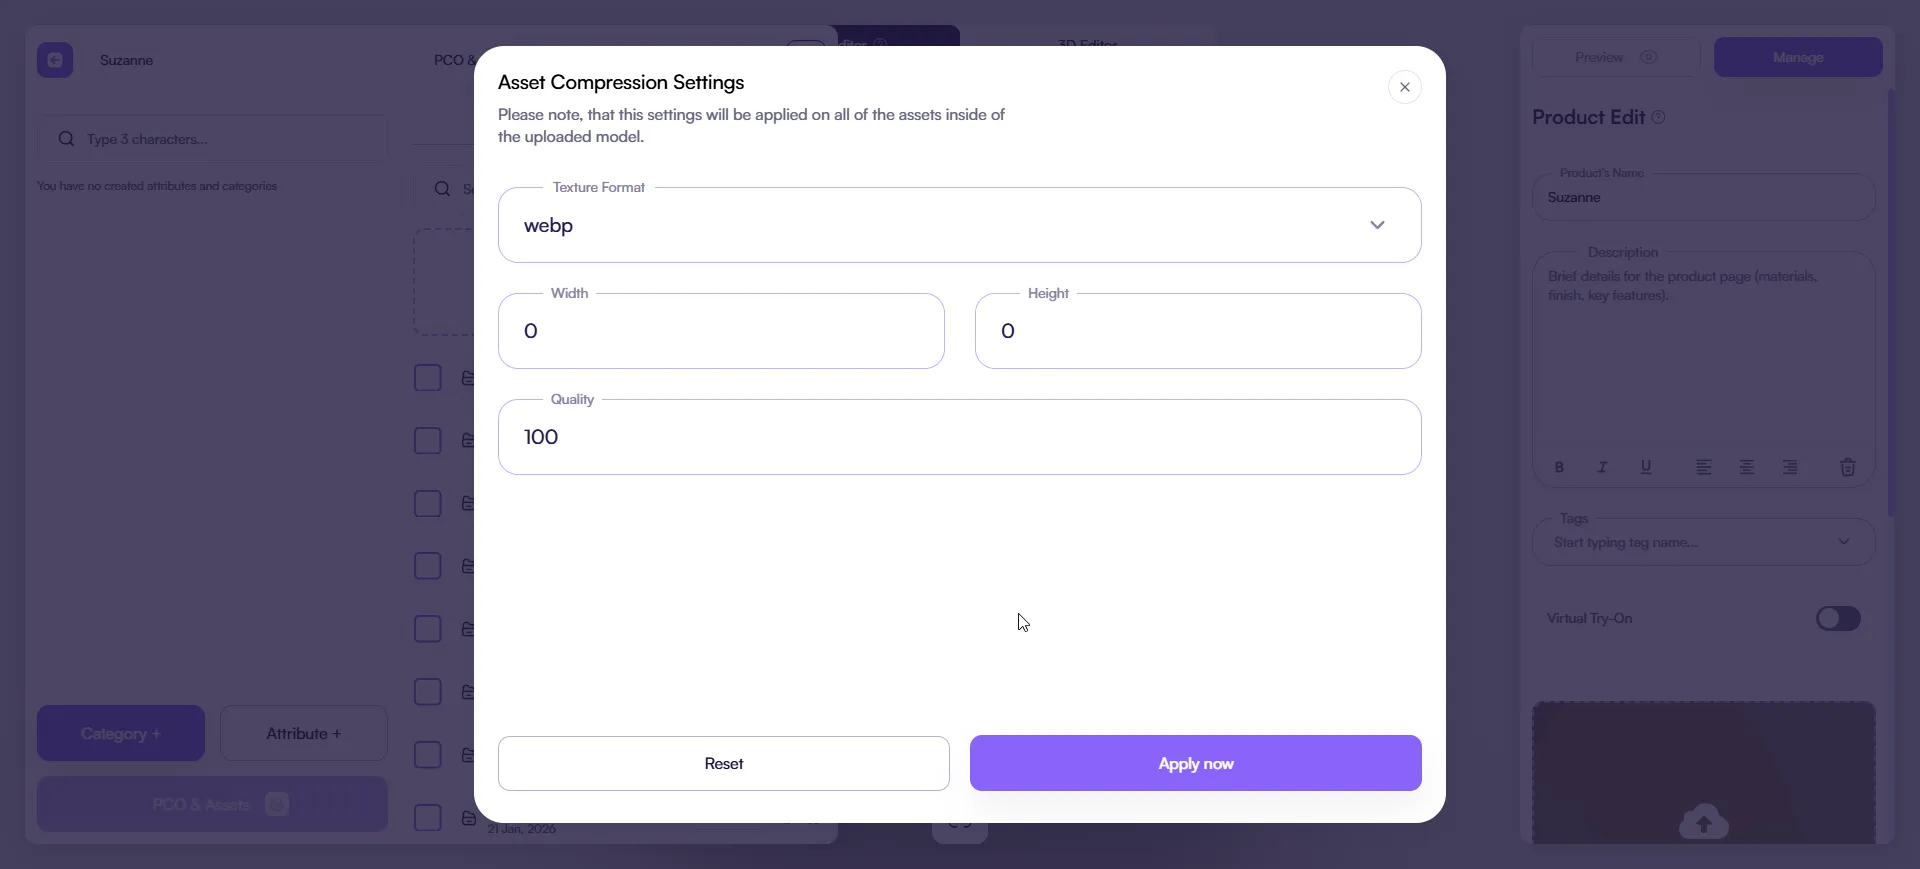
Asset Compression Settings
When uploading textures or models, you may see Asset Compression Settings.
Common options:
-
Texture format (for example: WEBP)
-
Width / Height
0keeps the original resolution
-
Quality
- Higher = better quality, larger file size
Recommended workflow:
- Keep Width / Height = 0 unless you need to optimize
- Reduce Quality only if performance is an issue
- Always preview the result after applying compression
Naming and organization
Use clear and consistent naming so you can search and reuse assets later.
- Textures:
t_objectName_type(example:t_chair_D) - Models:
sm_objectName(example:sm_chair_base) - Materials:
m_objectName(example:m_chair_leather_black)
Keep names readable and avoid duplicates.
Common issues
- Asset does not appear → check file format and size limits
- Texture looks wrong → confirm you assigned it to the correct slot/map type
- Model imports incorrectly → check scale, transforms, and UVs before export
Best practices
- Always upload assets via PCO & Assets → Assets first
- Keep files under the size limits
- Apply compression only when needed and always preview
- Use consistent naming for fast search and clean reuse