Basic Materials (MeshStandardMaterial)
Overview
Use MeshStandardMaterial for the majority of materials in Amaspace. It provides production‑ready results with a small, efficient set of controls: color, gloss, metal behavior, transparency, and surface detail.
Location: Material Editor → Basic Properties
When to use this material
Use MeshStandardMaterial for:
- Paint, plastic, rubber, wood
- Brushed or polished metal (with correct metalness and roughness)
- Most fabrics (with a proper normal map)
If you need special effects like refraction or mirror‑like reflections, switch to Advanced Materials.
Material setup workflow
Open the Material Editor
You can access a Material Editor in three supported ways:
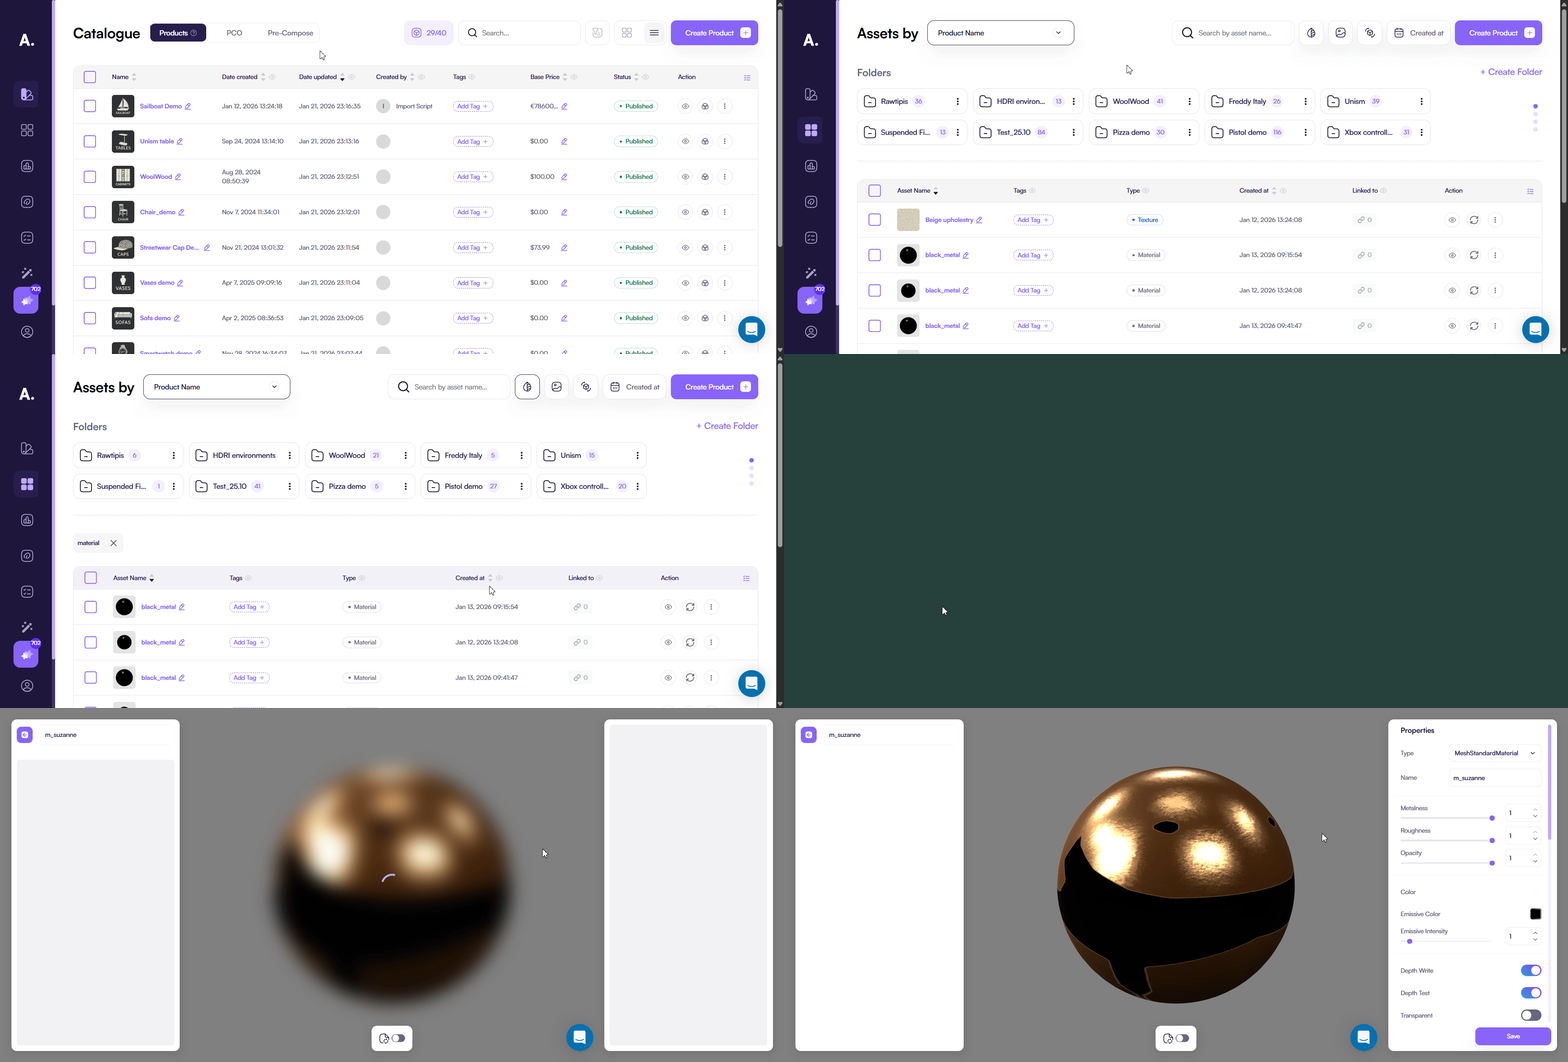
- Assets
- Open Assets → Materials
- Select the material you want to edit

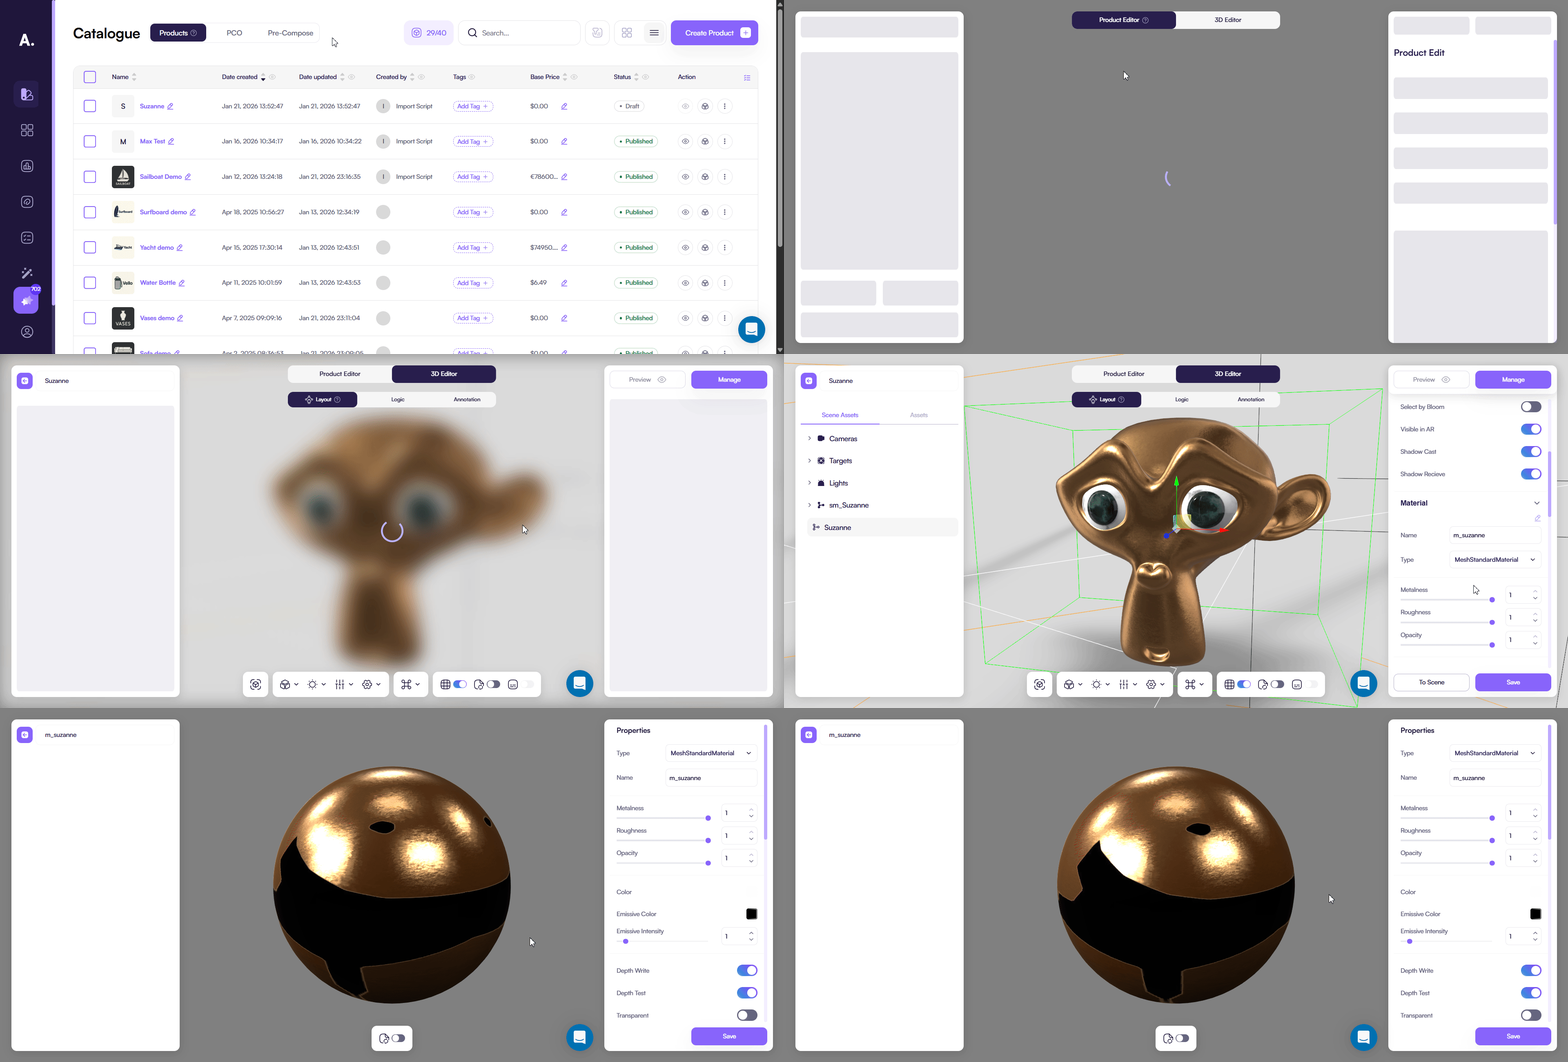
- 3D Editor
- Open 3D Editor
- Click the mesh in the viewport
- Open Materials and click Edit (pencil)
The Material Editor opens in a new browser tab.

- Edit directly in the scene (quick edits)
- Open 3D Editor
- Click the mesh in the viewport
- In Materials, tweak the material properties right in the panel
- Click Save
If you open the full Material Editor (via Assets or Edit), it opens in a new browser tab. Scene edits saved with Save also update the same material and appear in the Material Editor.
2) Set the base look (most important)
These three controls define most of the final appearance:
Base Color / Map
- Sets the main visible color
- Use a solid color or a Base Color texture
- Always judge the final color under real scene lighting
Metalness (0–1)
- 0 → plastic, paint, wood
- 1 → metal
- 0–0.4 → metallic paints (common range)
Roughness (0–1)
- Lower values → shinier surface
- Higher values → more matte surface
Tip: when something looks wrong, roughness is usually the cause.
3) Add surface detail (only if needed)
Normal Map
- Adds surface detail without extra geometry
- Use for fabric weave, grooves, stamped patterns, small imperfections
- If shading already looks correct via geometry and normals, don’t force a normal map
4) Transparency and glow (only when required)
Opacity (0–1)
- 1 → fully opaque (default)
- Lower values → more transparent
Enable transparency only when necessary. Transparency can reduce performance and cause sorting issues.
Emission
- Makes the material appear self‑lit
- Use for screens, LEDs, and indicators
- Start with low values and increase gradually
5) Textures (Maps)
Use textures only when they add real value.
- Expand Maps.
- Assign only the maps you need:
- Base Color “Map”
- Roughness
- Metalness
- Normal
- Opacity (only if required)
- Re‑check roughness and metalness after applying maps.
6) Rendering options (keep defaults)
These settings normally stay at default values:
- Depth Test → ON
- Depth Write → ON for opaque materials
- Side → Front for most geometry (use Double only if surfaces appear flipped)
- Wireframe → OFF
7) Save and verify
- Click Save.
- Validate the material in the main 3D scene:
- Highlights look correct
- Color reads correctly
- No unexpected transparency
- No flickering or artifacts
AO and Lightmap (optional)
Ambient Occlusion (AO)
- Adds subtle shadowing in corners and contact areas
- Skip AO for ultra‑short pipelines
- Bake AO only after clean final UVs
Lightmap
- Stores precomputed lighting for static scenes
- Use only when lighting will not change
Best practices
- Start with Base Color + Metalness + Roughness
- Use normal maps instead of extra geometry when they actually help
- Avoid transparency unless required
- Always preview under the real environment and lighting