Environment
This article explains how to select an environment preset and fine‑tune intensity, rotation, and ground inside the 3D Editor.
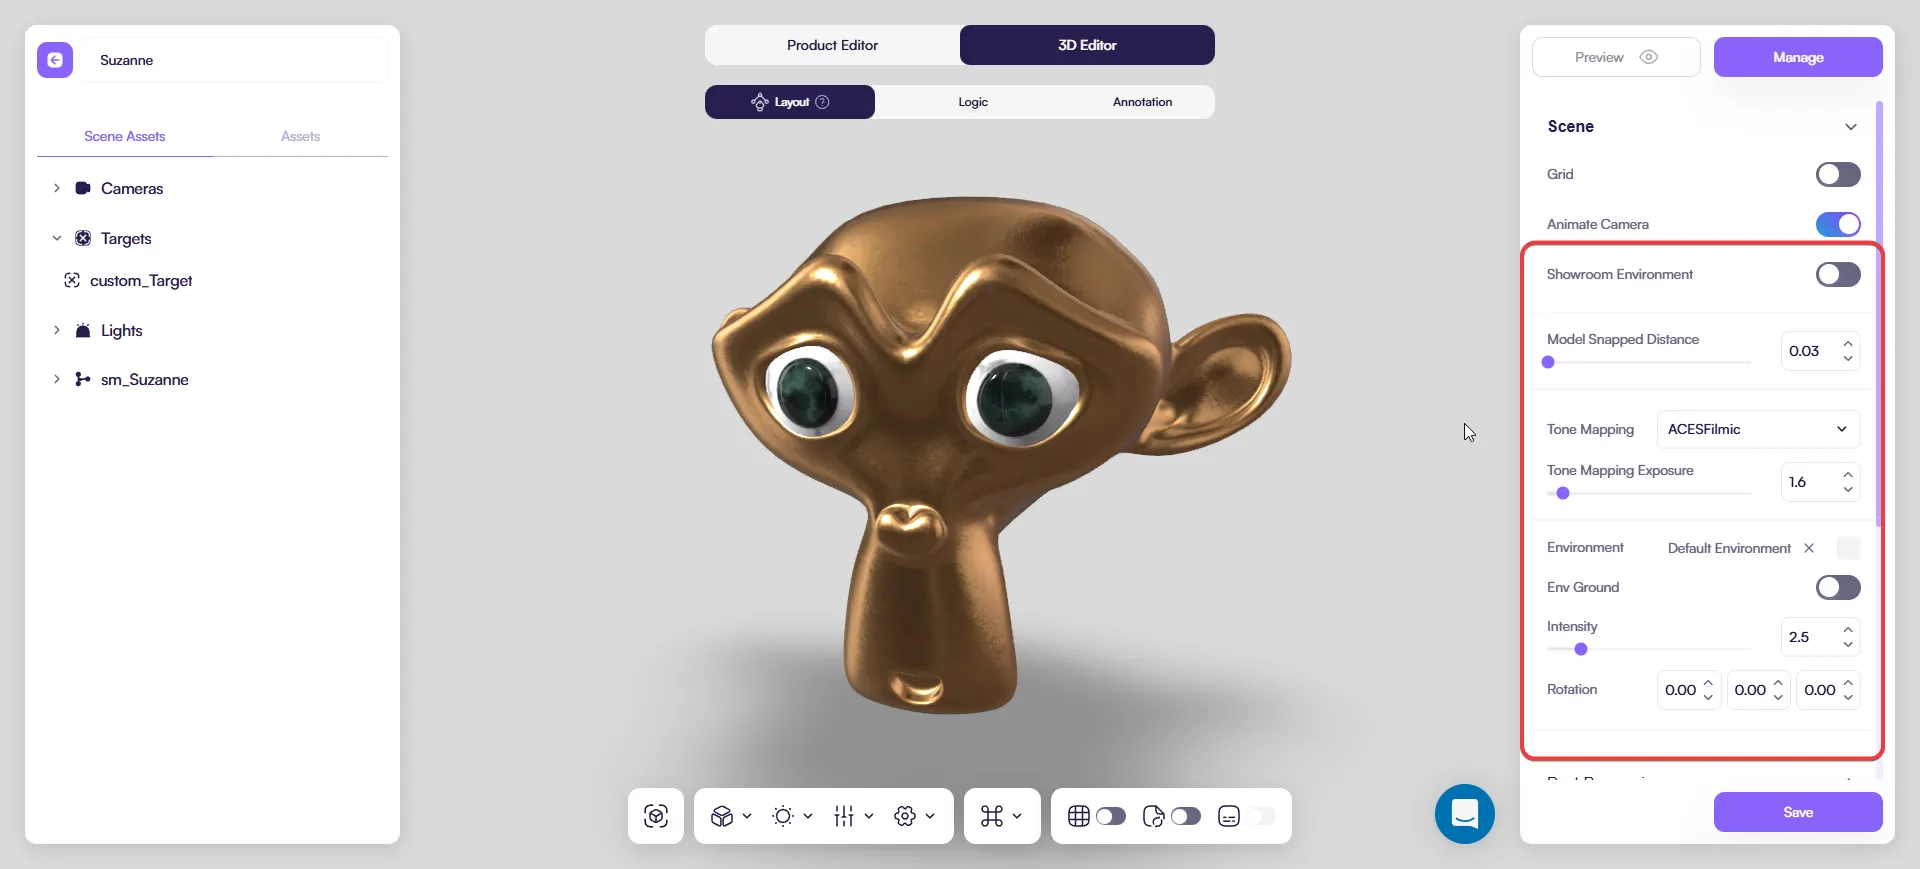
Location: 3D Editor → Layout → Scene → Environment
Overview
An environment preset is an environment map (a surrounding image used as a light and reflection source).
- It affects the entire scene, not a single mesh.
- It is most visible on reflective materials (metal, glossy plastics, clearcoat, glass).
- Changing environment settings late in production can break visual consistency across products.
Adjust environment lighting
Step 1: Open the Environment panel
- Open your product.
- Go to 3D Editor.
- Switch to Layout.
- Open Scene.
- Scroll to Environment.
Step 2: Select an Environment preset
- In Environment, choose a preset from the Environment field.
- If you need to remove it, click X next to the preset name.
What it affects:
- Global light direction
- Material reflections
- Overall contrast and brightness
Screenshot needed: Environment preset selected (dropdown + selected value).
Step 3: Set Environment Intensity
Intensity controls both scene brightness and reflection strength.
- Increase Intensity if the scene looks dull or flat.
- Decrease Intensity if highlights feel too strong or unnatural.
- Adjust in small steps and always check a metal/glossy surface.
Step 4: Rotate the environment
Rotation changes:
- Light direction
- Highlight placement
- Reflection position
- Rotate the environment until key highlights land on the most important parts.
- Use subtle rotations for precise control.
Tip: This is one of the fastest ways to improve the look without touching materials or geometry.
Step 5: Toggle Env Ground
Env Ground adds a virtual ground plane.
Enable when:
- You need a showroom look
- The product should feel “placed” on a surface
Disable when:
- You need a transparent background
- The product should look floating/isolated
Step 6: Validate the result
- Preview is a full configurator mode.
- For quick checks of lighting and materials, use 3D Editor or Product Editor.
Checklist:
- Metals are not overexposed
- Highlights look intentional
- No unexpected dark/gray look
How environment maps affect materials
- Metal reflects the environment strongly and clearly.
- Glossy paint / plastic shows softer, blurred reflections.
- Matte surfaces show minimal reflection.
Rotation note:
- Rotating the environment does not rotate the model.
- It only repositions light and reflections.
Common issues
- Metal looks flat → increase Intensity slightly or choose a different environment.
- Highlights look wrong → rotate the environment.
- Scene looks gray → the environment may be too neutral; try a higher‑contrast preset.
Recommended workflow
- Select an Environment preset.
- Rotate to place highlights.
- Adjust Intensity for balance.
- Toggle Env Ground if needed.
- Check in 3D Editor / Product Editor, then confirm in Preview.
Next steps
- Light Sources
- Cameras
- Post Processing
- Materials & Textures
Last updated on