Cameras
Overview
Camera settings control how users view and interact with your product inside the configurator. They define perspective, focus, navigation limits, and how the camera behaves during interaction. A well‑configured camera improves usability and visual clarity without adding extra assets.
Camera setup
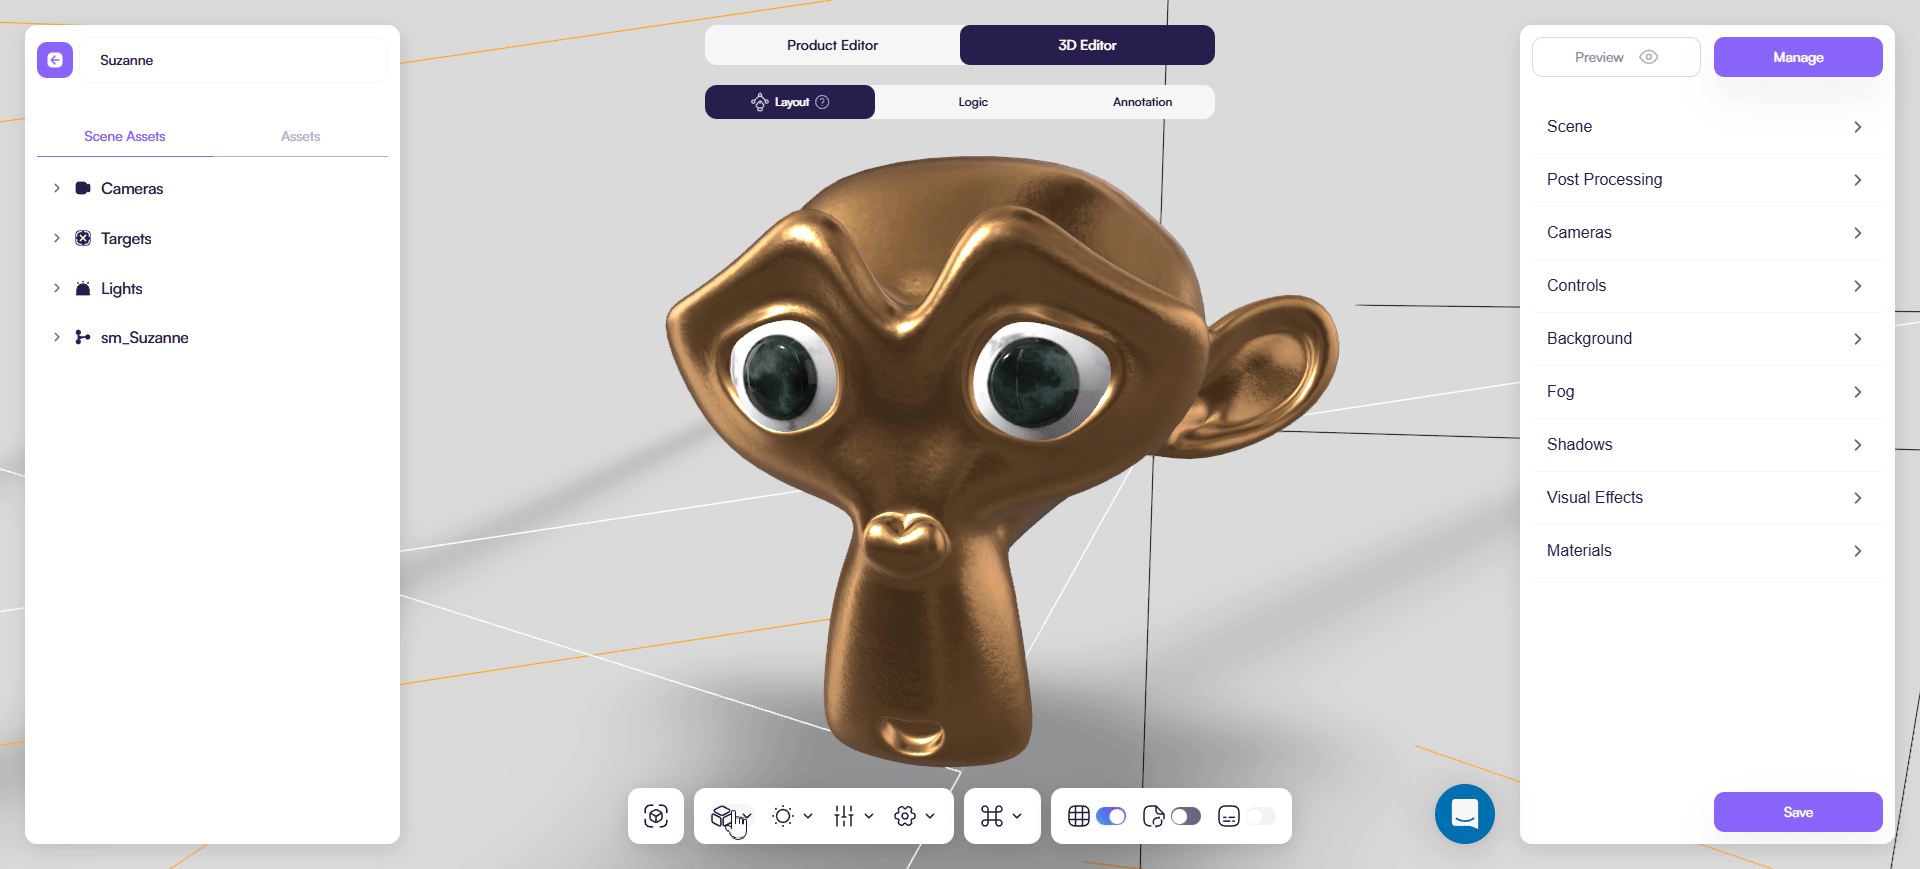
Active camera
Use the Cameras dropdown to select which camera is currently active.
- Viewport – default interactive camera used in the 3D Editor
- Configurator – main camera used in the live configurator
- Custom cameras – additional cameras for predefined views or logic‑based switching
For most products, use one main camera and add custom cameras only when specific views are required.
Target
The Target defines the point the camera looks at.
- Usually set to the product center or a specific PCO
- Keeps orbiting and zooming stable
- Prevents camera drifting
Always make sure the target stays inside the product bounds.
Perspective
Field of View (FOV)
Controls how wide or narrow the camera view appears.
- Lower values → zoomed, product‑focused view
- Higher values → wider, more dynamic perspective
Recommended range: 35–60
Near / Far
Defines the visible depth range of the camera.
- Near – how close objects can be before clipping
- Far – maximum visible distance
Use the smallest possible range to:
- Avoid depth artifacts
- Improve depth precision
This is one of the most important camera settings.
Depth of Field
Adds focus blur to objects outside the focal range.
- Useful for marketing or presentation shots
- Not recommended for interactive configurators
Keep this disabled unless specifically needed.
Controls
Controls define how users rotate, zoom, and navigate around the product.
Distance limits
- Min Distance – closest zoom allowed
- Max Distance – farthest zoom allowed
Use limits to prevent camera clipping into geometry.
Rotation limits
Restrict how far users can rotate the camera.
- Polar Angle – vertical rotation
- Azimuth Angle – horizontal rotation
Useful for:
- Preventing views from below
- Keeping the product presentation consistent
Interaction speed
- Rotate Speed – orbit sensitivity
- Zoom Speed – zoom responsiveness
Use moderate values to avoid motion discomfort.
Auto rotate
Automatically rotates the camera around the target.
- Auto Rotate – enable / disable turntable
- Auto Rotate Speed – rotation speed of a turntable
Recommended only for idle or presentation states.
Using cameras with logic (optional)
You can create multiple cameras and control them using Rules.
- Switch cameras automatically when a PCO is activated
- Create guided product views per configuration
This is useful for complex products with multiple focus areas.
You can read more about it in a dedicated page of our documentation.
Best practices
- Configure Camera and Target together
- Keep one main interactive camera
- Use Near / Far carefully
- Limit rotation and zoom
- Test on desktop and mobile