Wix Integration
Install the Amaspace 3D Customizer in your Wix store: from first connection to placing the configurator on your store pages. The Wix app is installed from Amaspace, not from the Wix App Market, so start at Step 1.
Step 1 — Connect your Wix store to Amaspace
-
Click Add New Site.

-
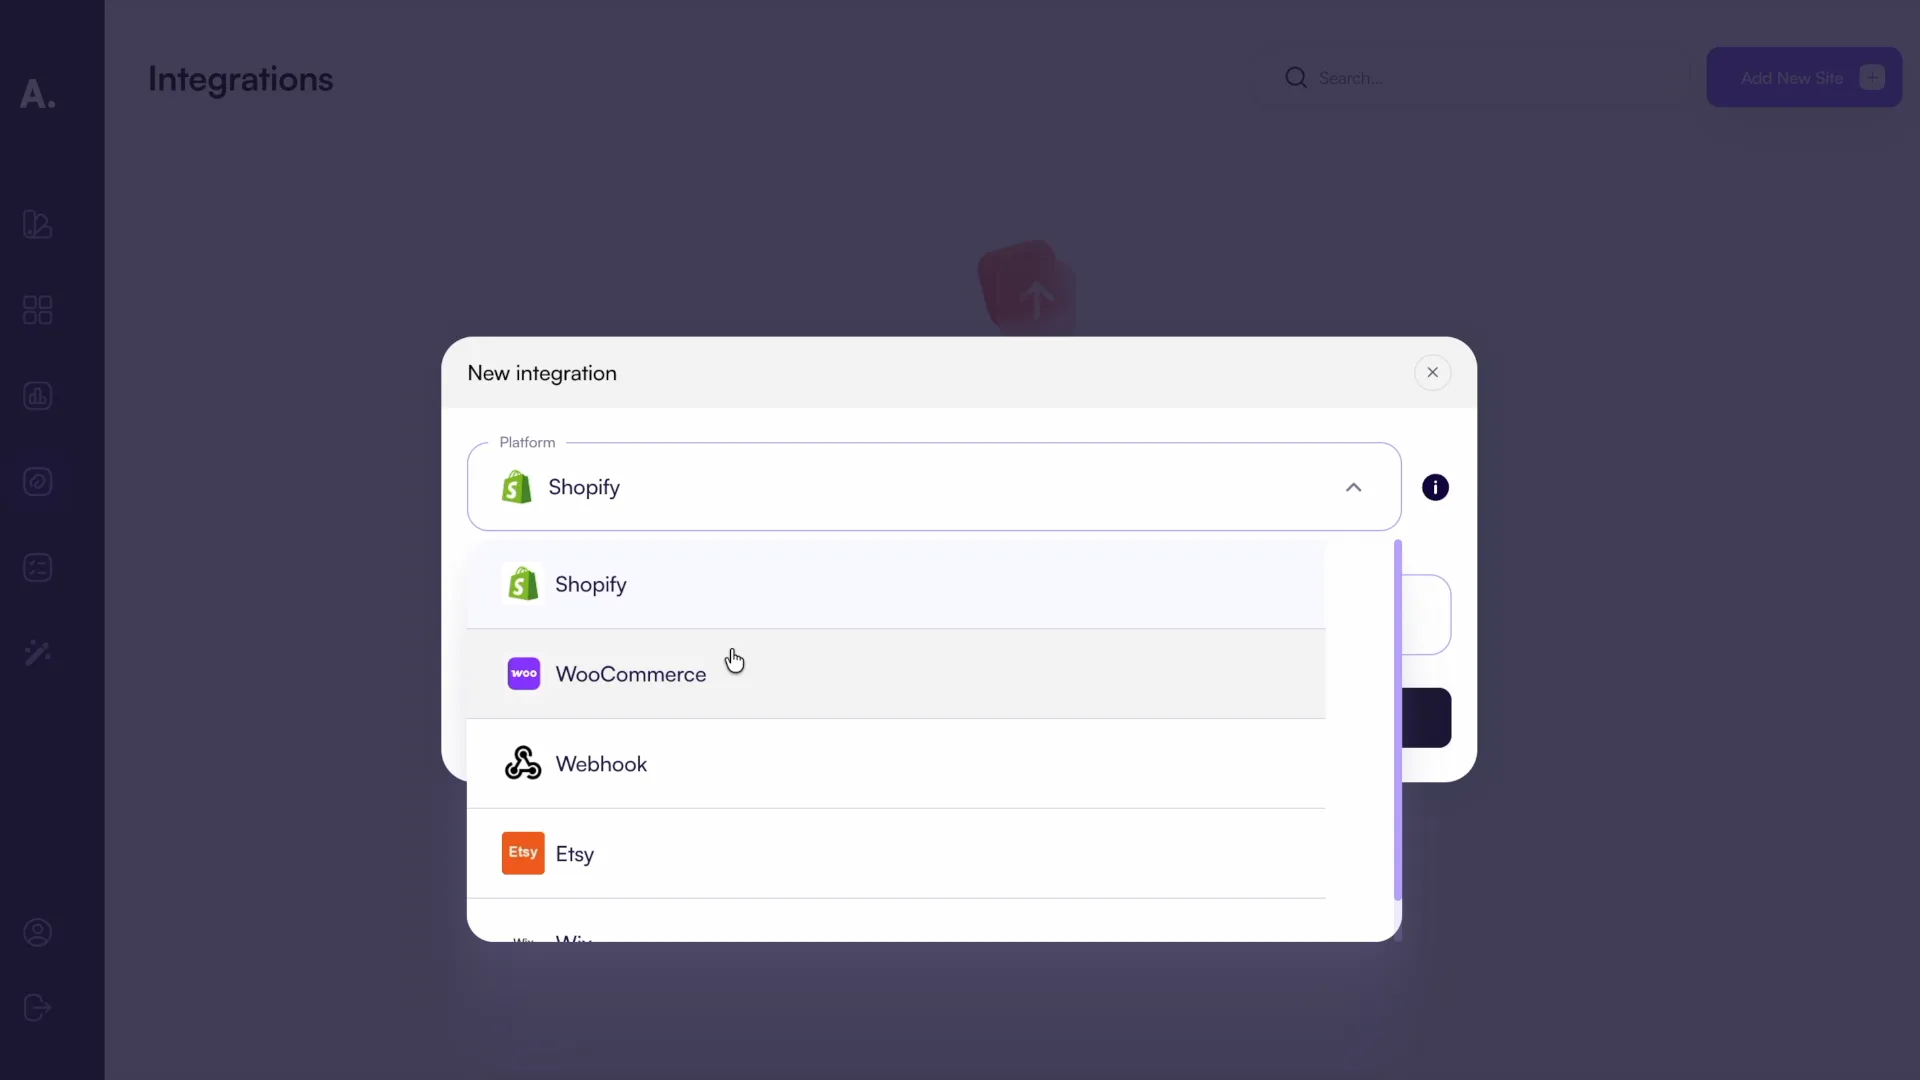
In the New integration window, open the Platform list and select Wix.
-
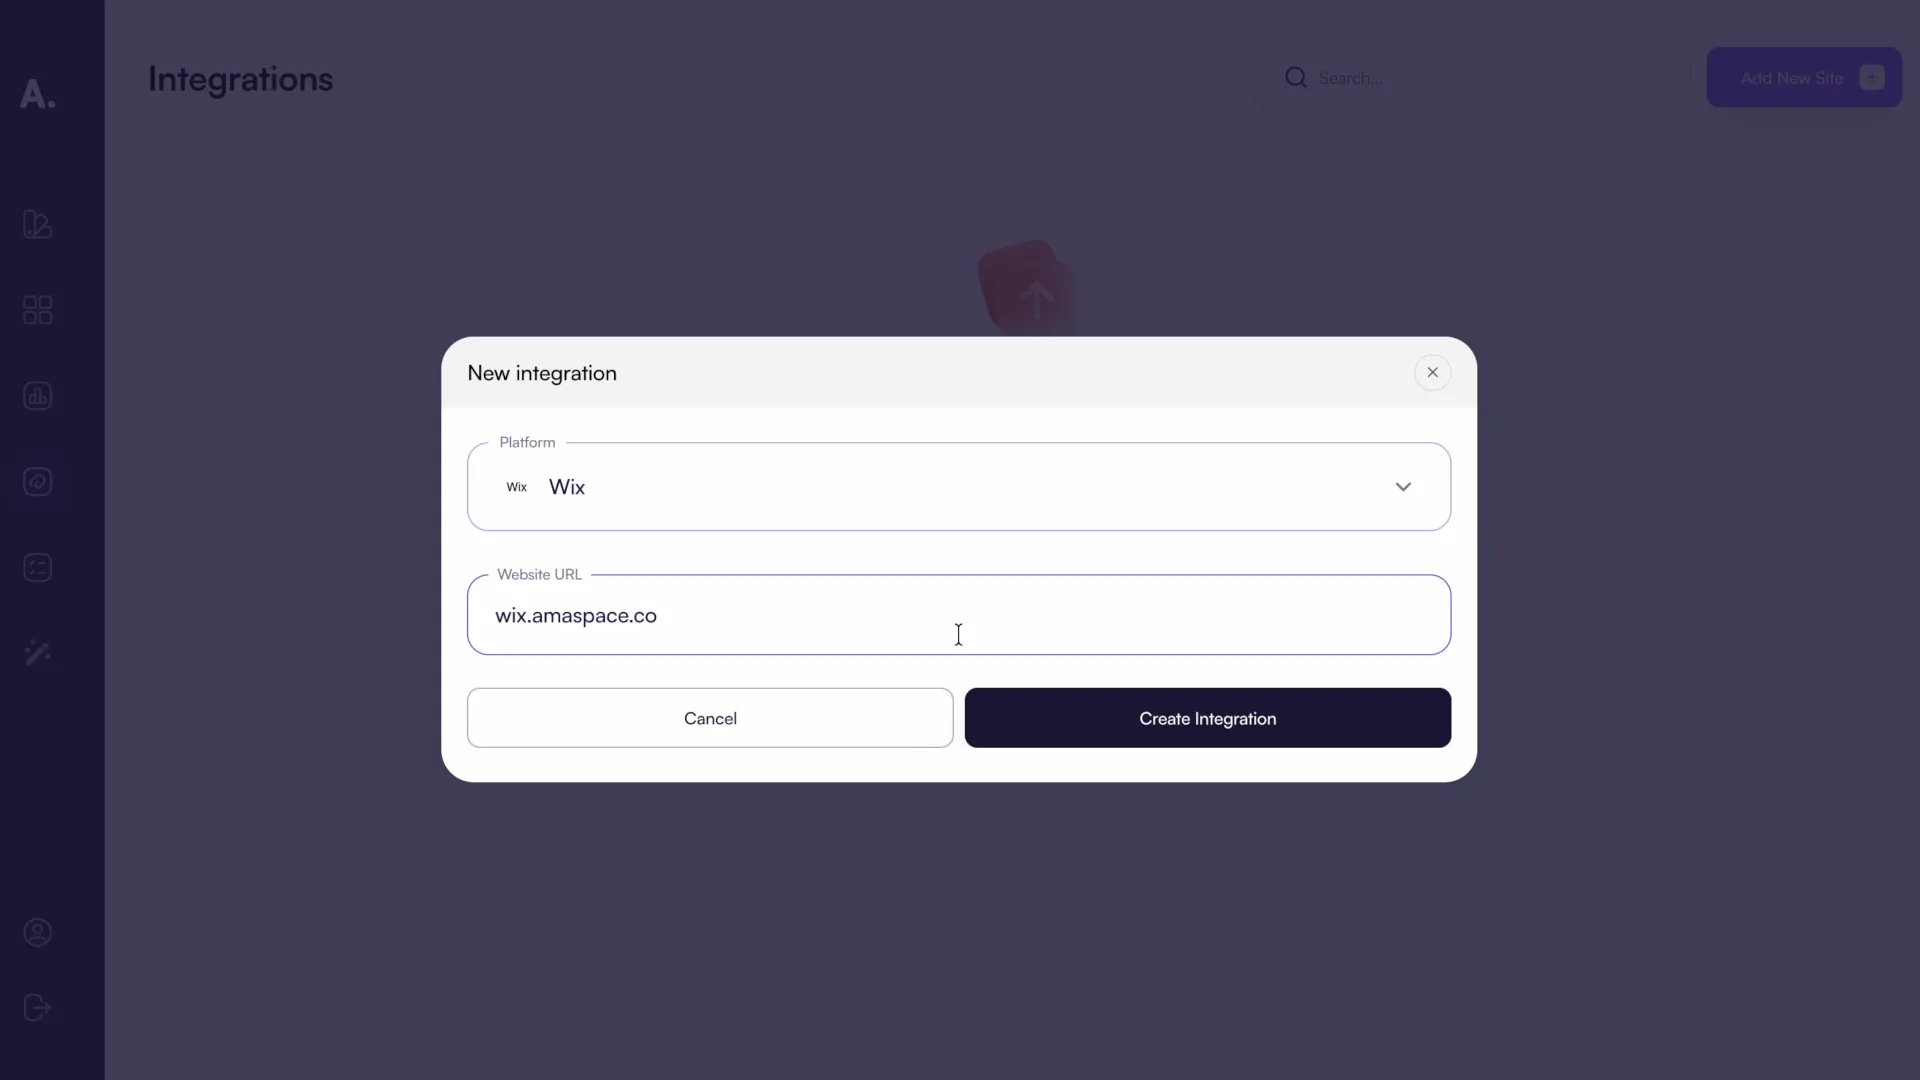
Enter your store address in Website URL.
-
Click Create Integration.
-
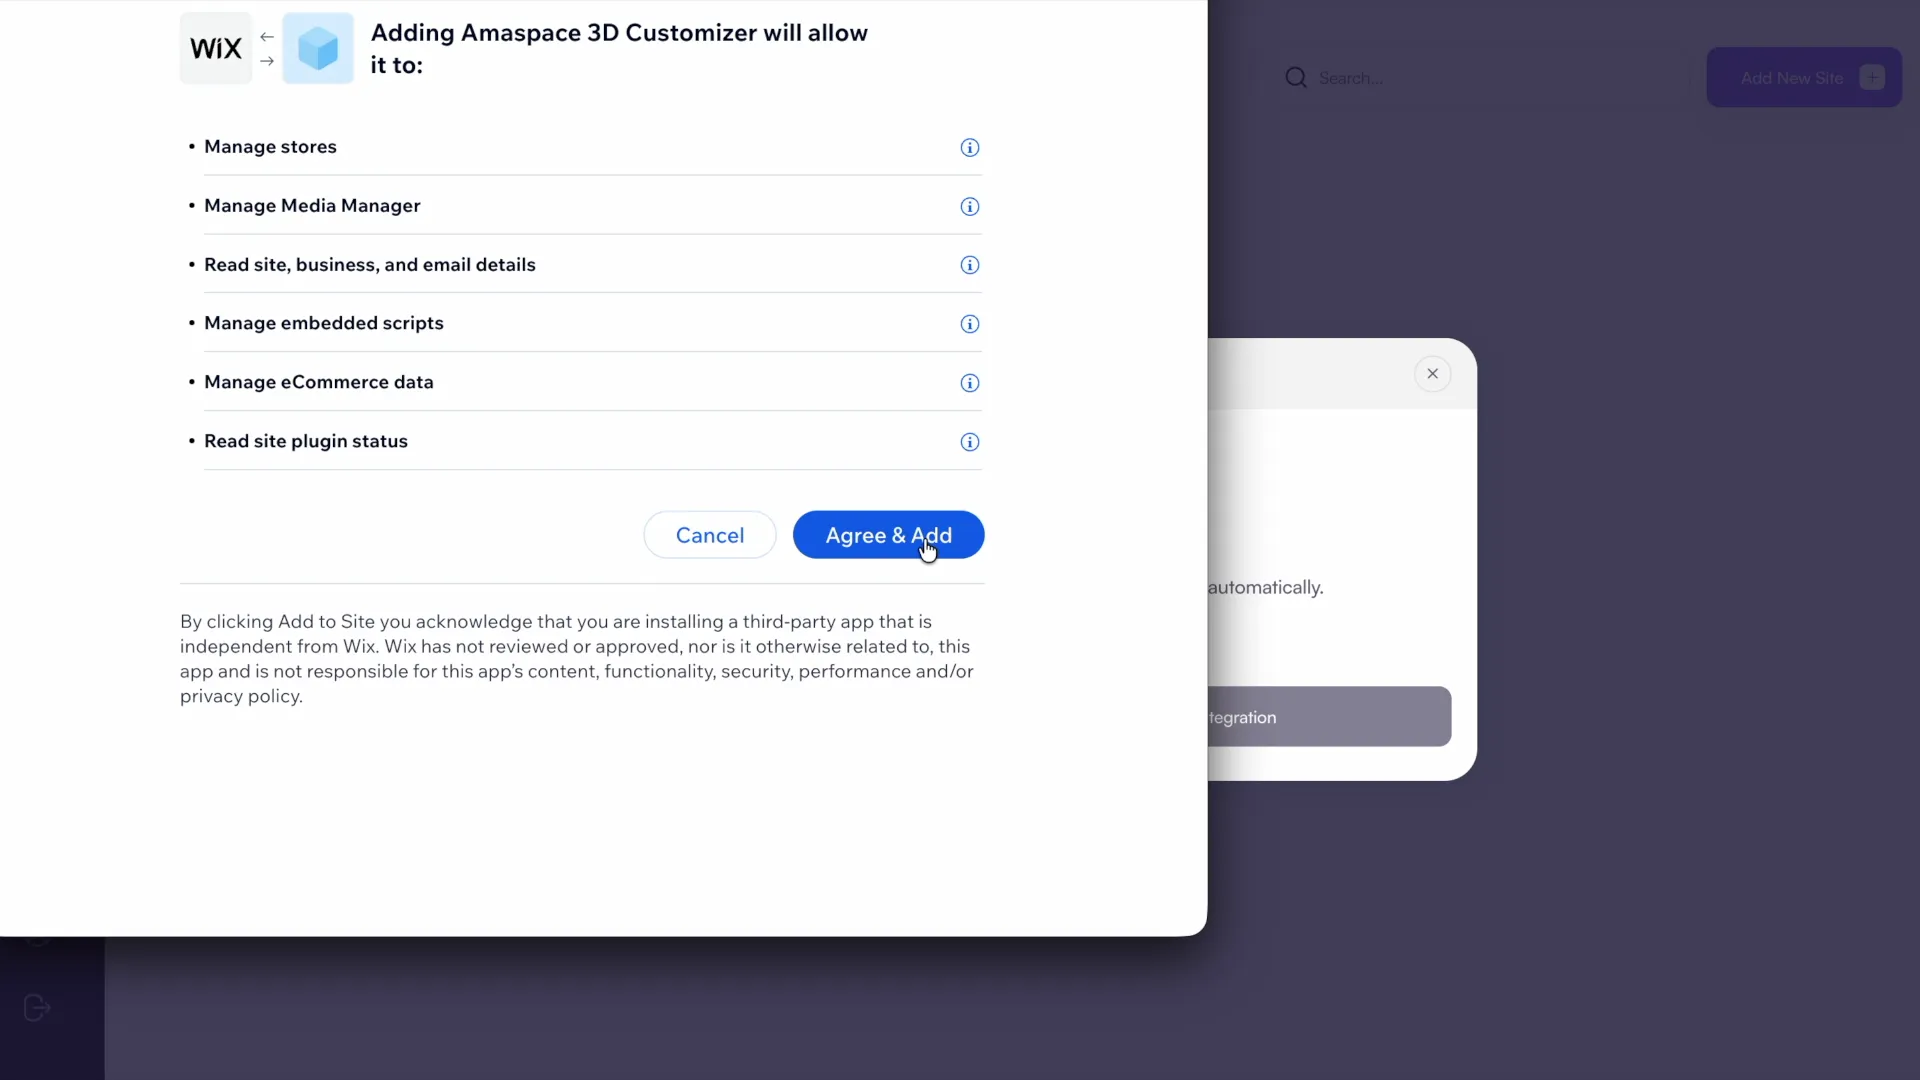
Wix asks for permissions. Click Agree & Add.
-
On the “Almost there…” screen, choose Go to Dashboard.
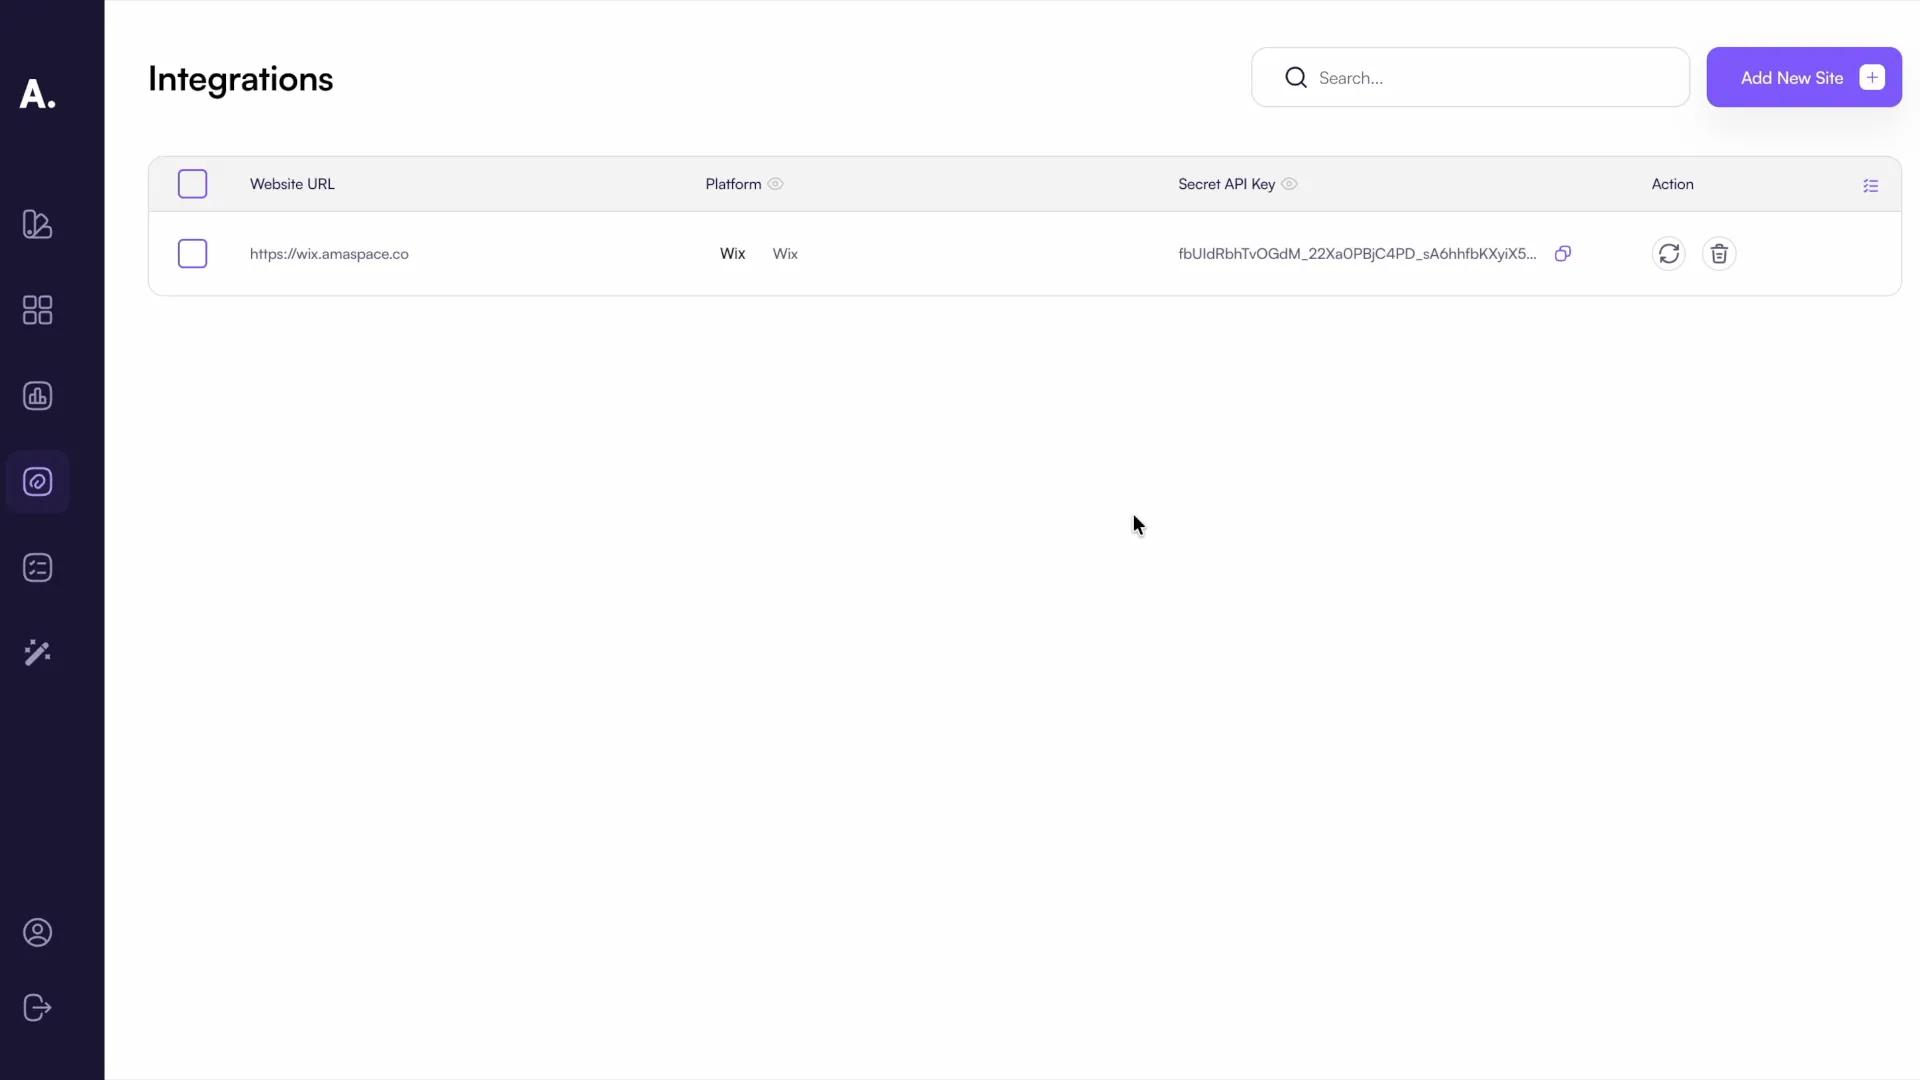
Your store now appears in Integrations with its own Secret API Key. Nothing needs to be pasted anywhere — the Wix app authenticates itself.
Step 2 — Complete setup in Wix
-
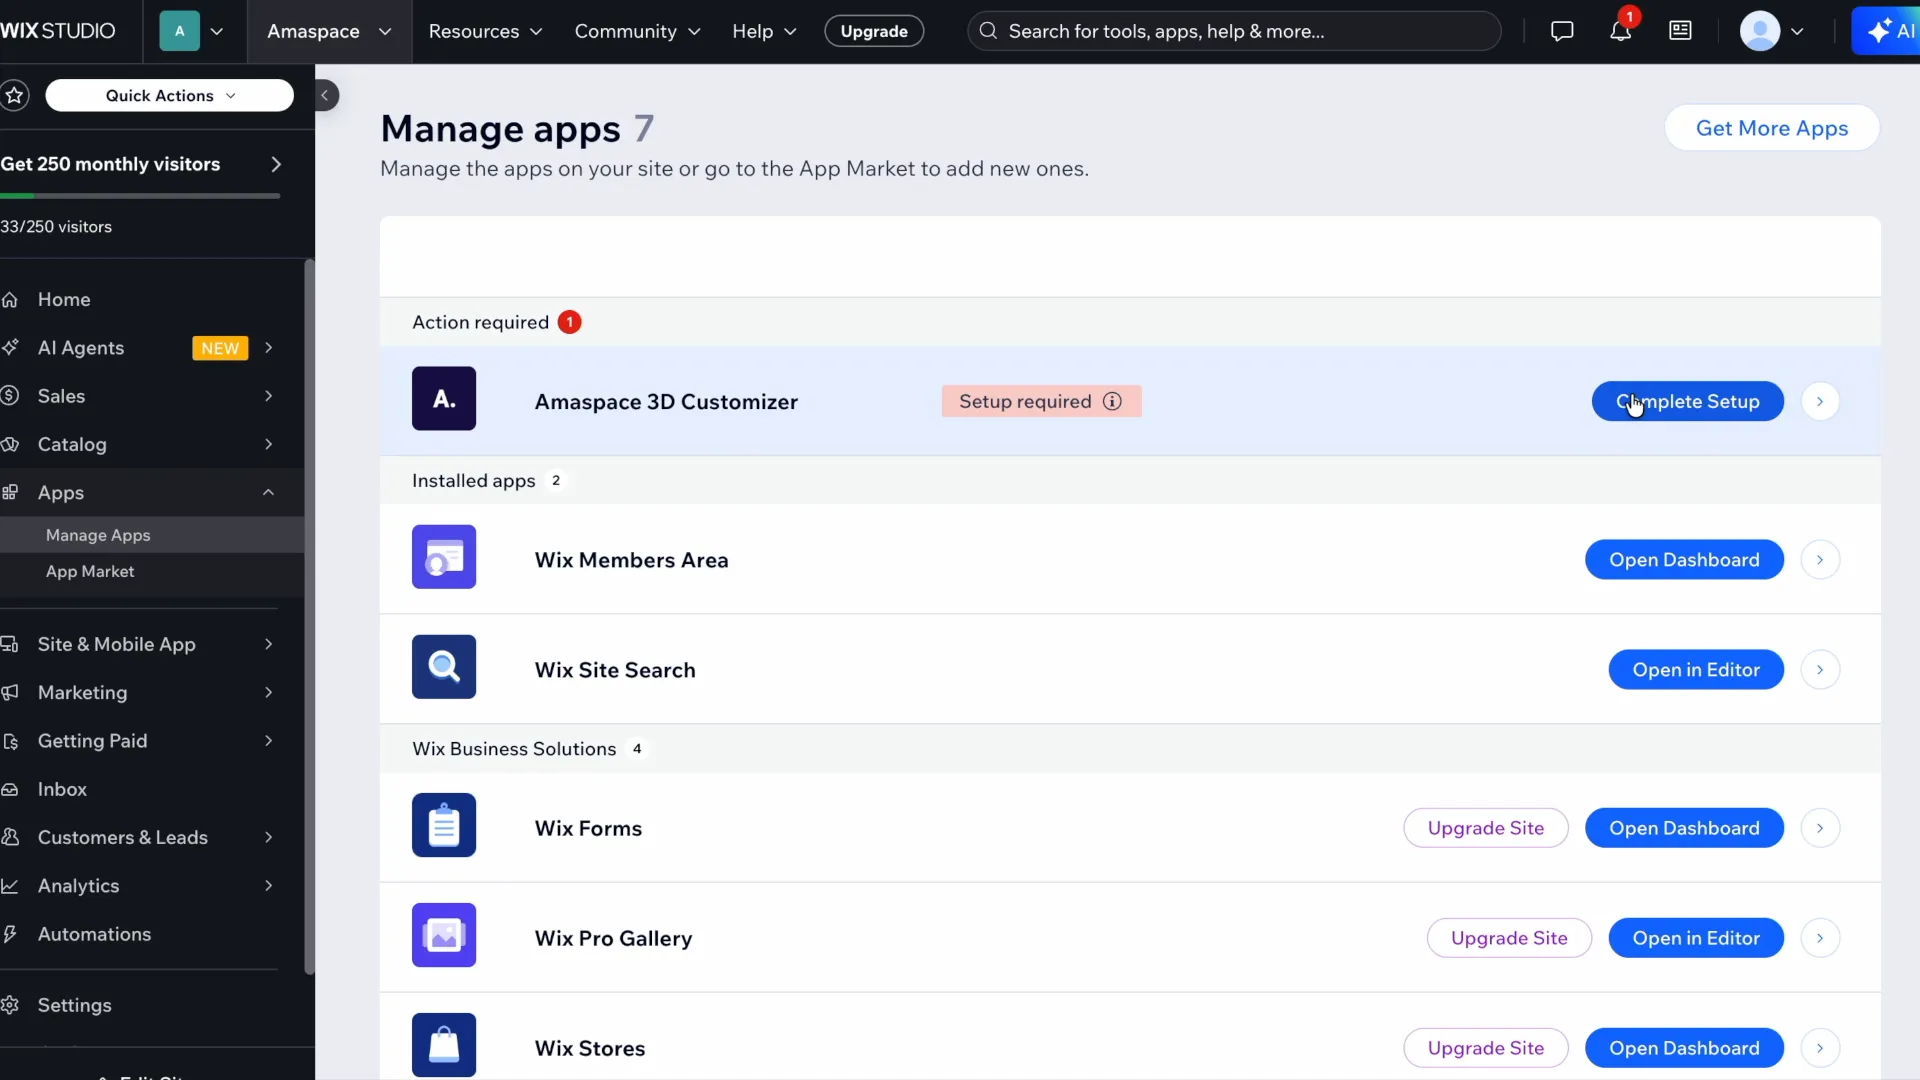
In the Wix dashboard go to Apps → Manage Apps.
-
Find Amaspace 3D Customizer under Action required and click Complete Setup.
-
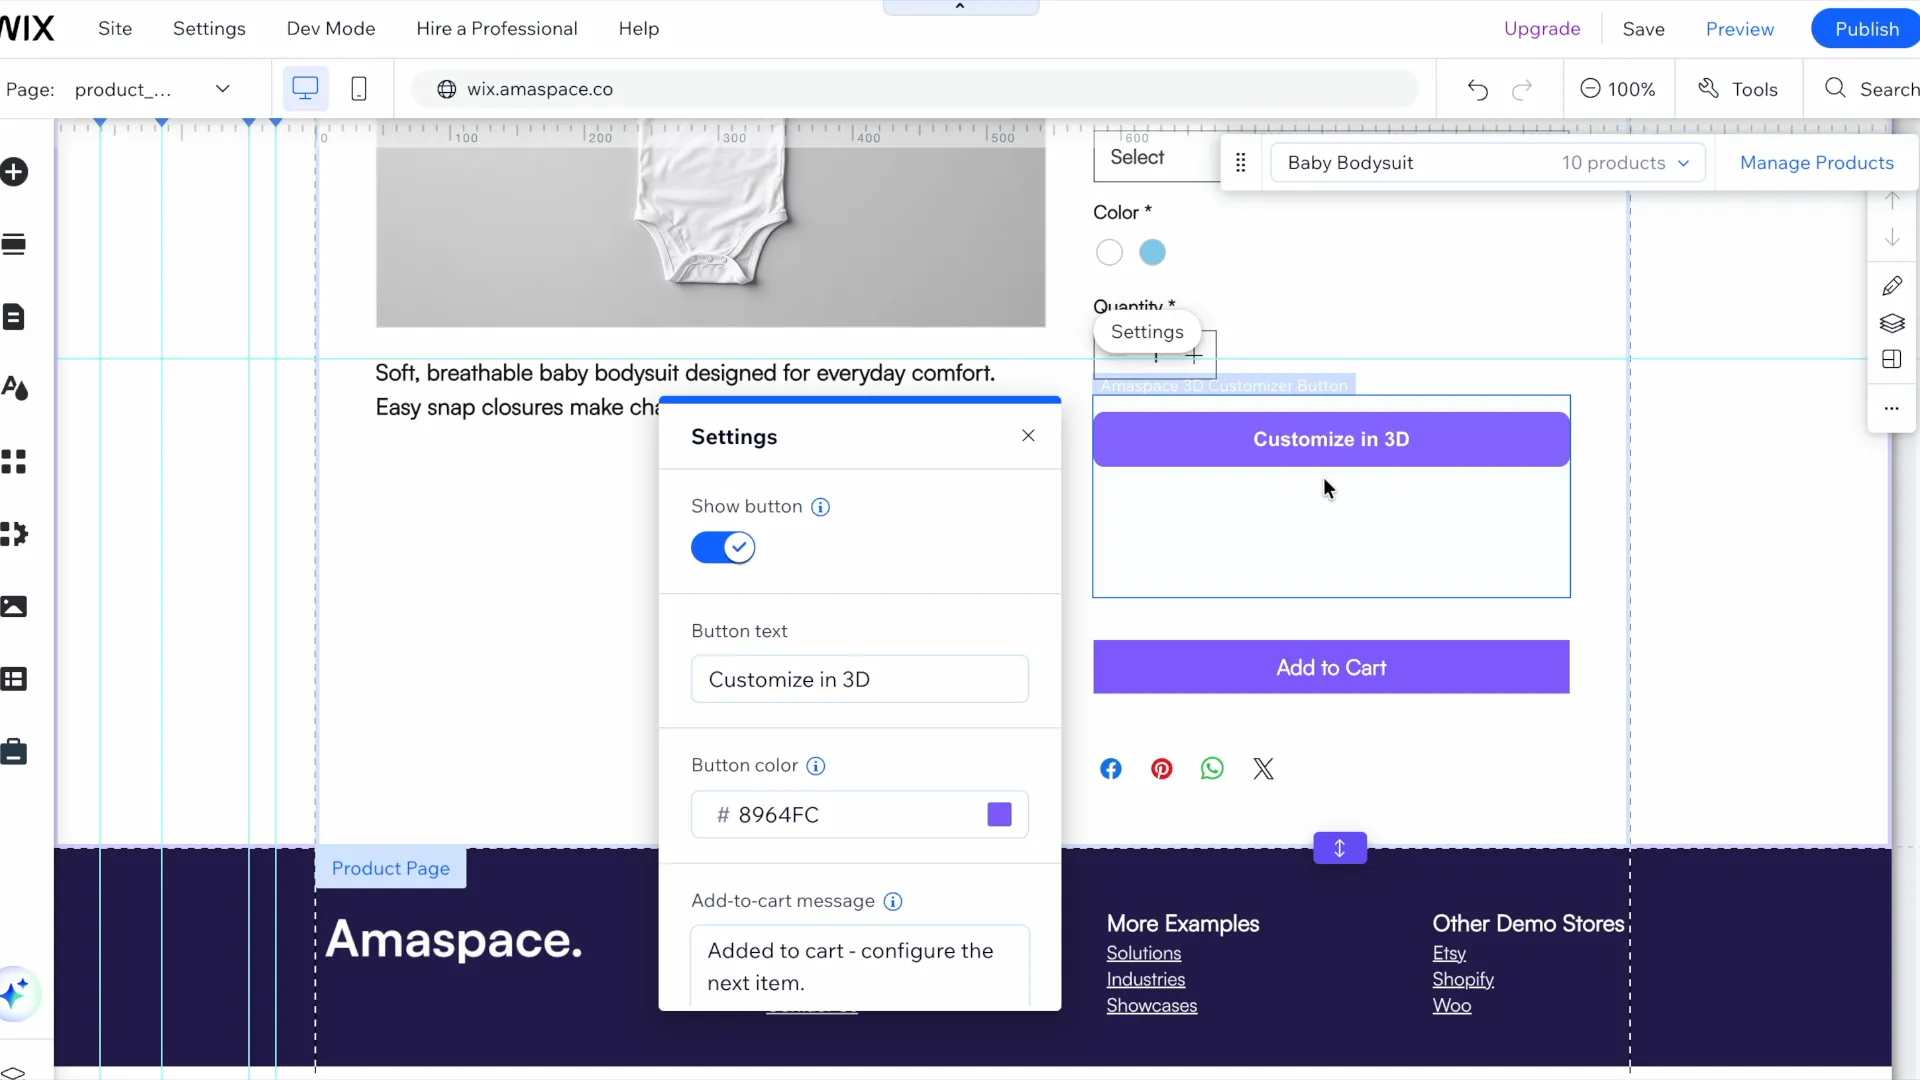
The Wix editor opens and adds the 3D configurator button to your product page.

-
Select the button and open Settings to customize the button text and color.
-
The Add-to-cart message is shown when a customer adds a configured product to the cart or submits the contact form.
-
Click Save, then Publish.
The button appears only on product pages connected to a 3D configurator. It will not appear on any other product page.
Step 3 — Link a configurator to a Wix product
-
Go to https://app.amaspace.co/catalog and open the product menu.

-
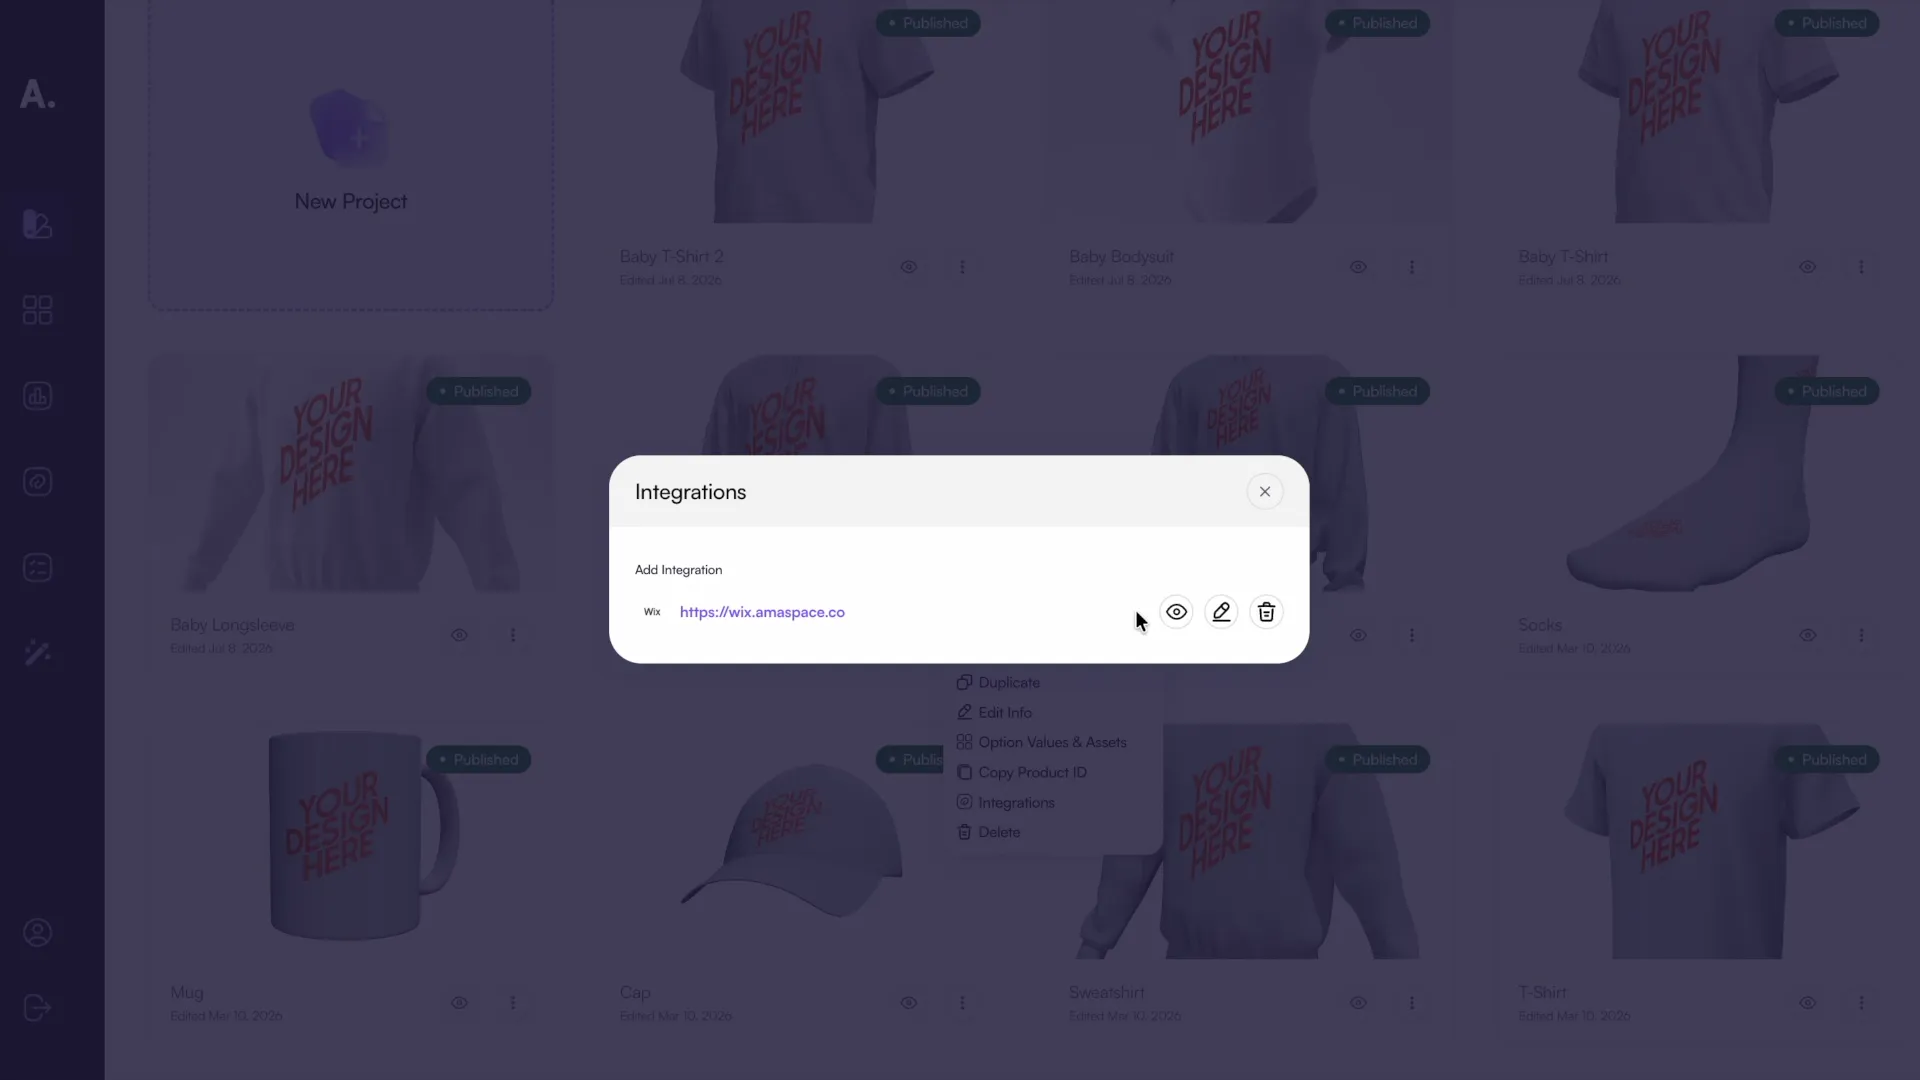
Choose Integrations.
-
Click Add Integration and select your Wix site.
-
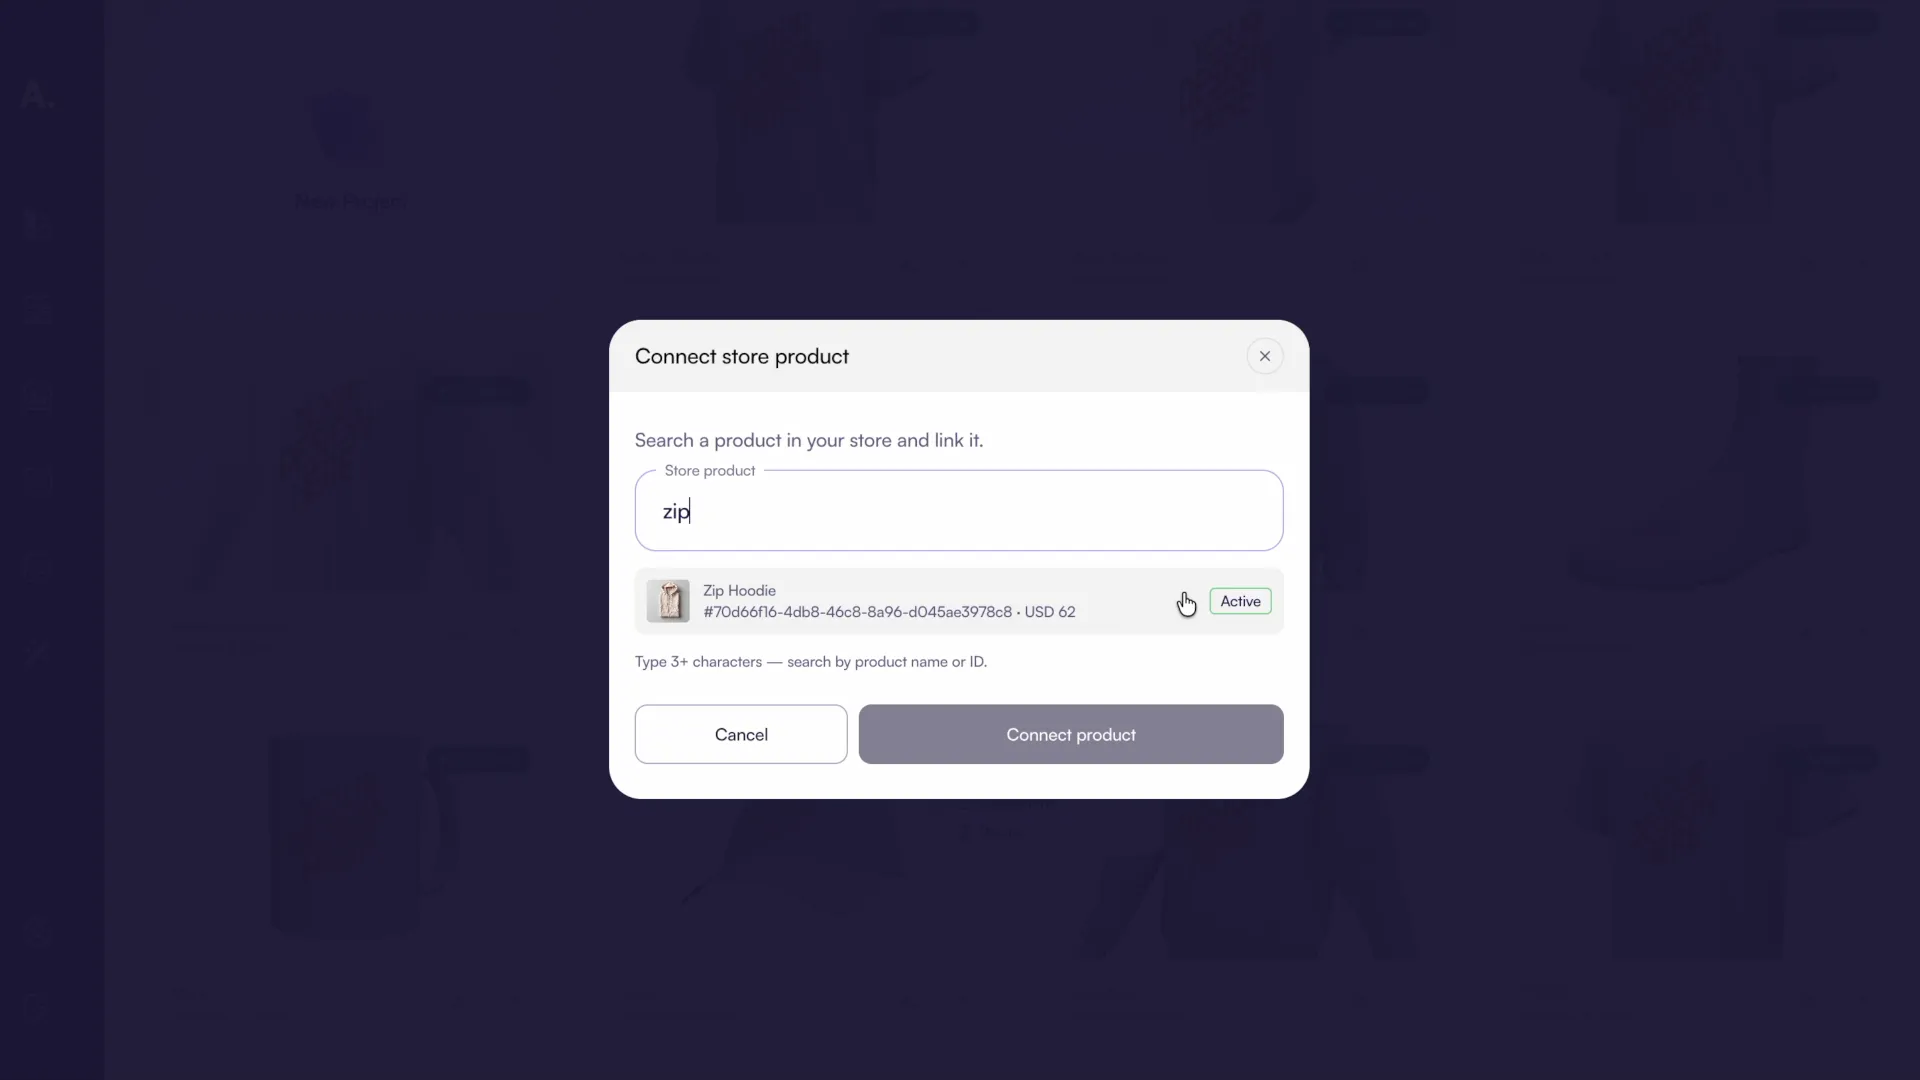
In Connect store product, type the Wix product name or ID — search starts at three characters.
-
Select the match and click Connect product.
Step 4 — Check the customer flow
-
Open the product page you connected. The button is now visible above Add to Cart.

-
Click it to open the configurator.
-
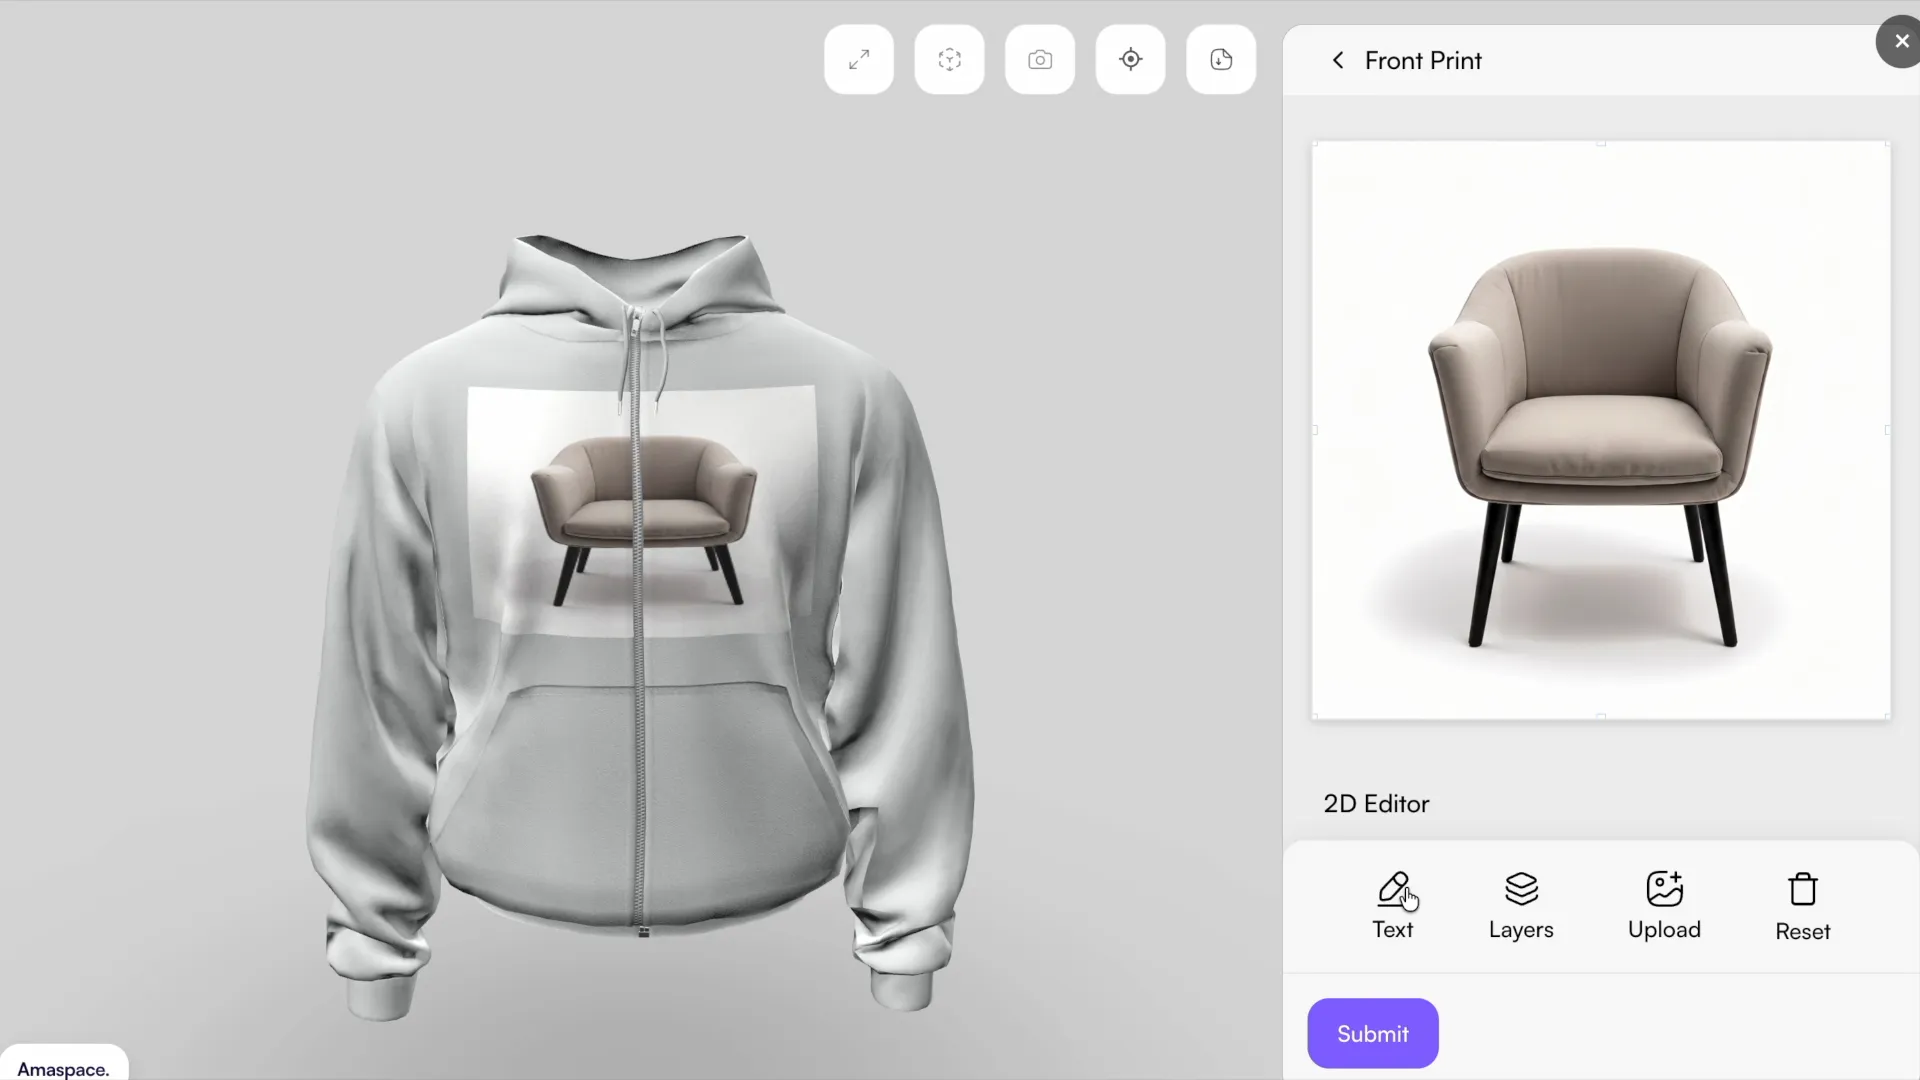
Choose your options, upload an image or add text in the Print section, and select a color.
-
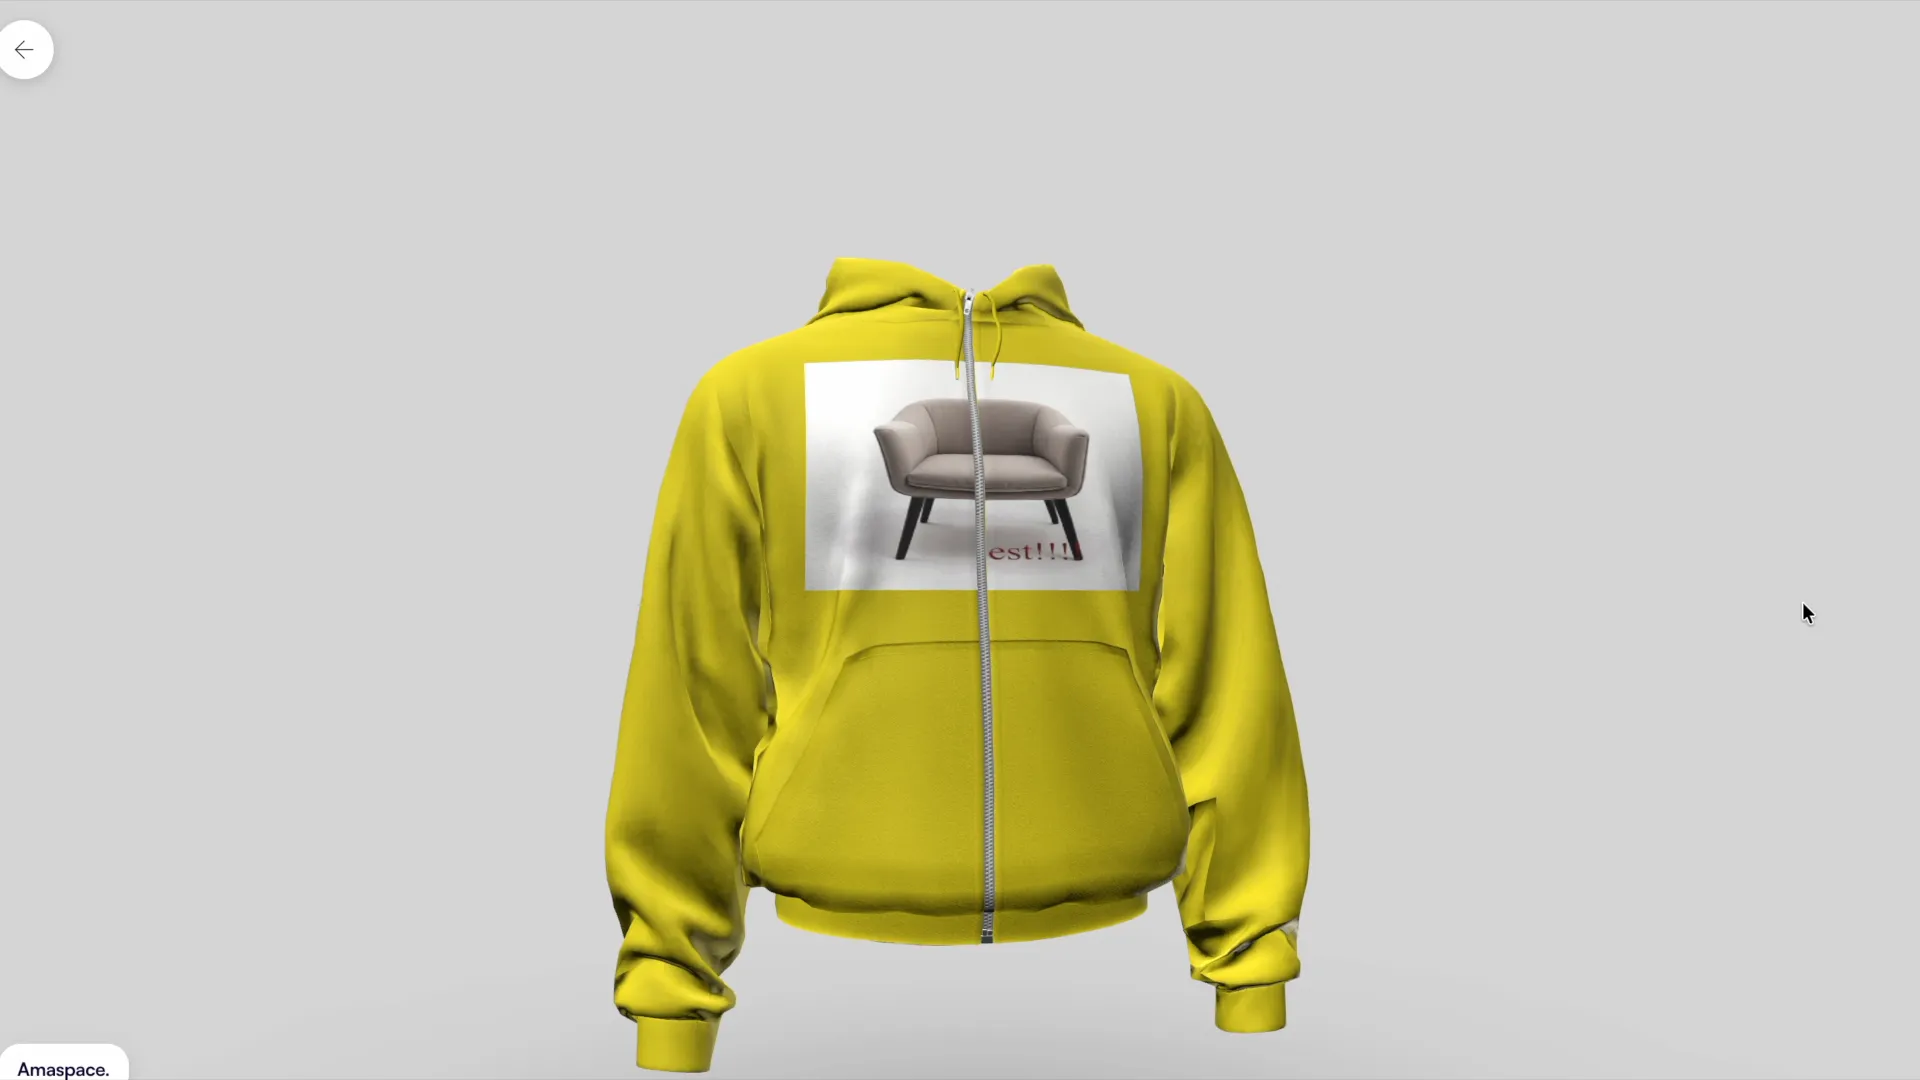
Click Submit. Amaspace creates a product configuration and saves every uploaded image and selected option. Processing time depends on the configurator’s complexity and the size of the uploads.
-
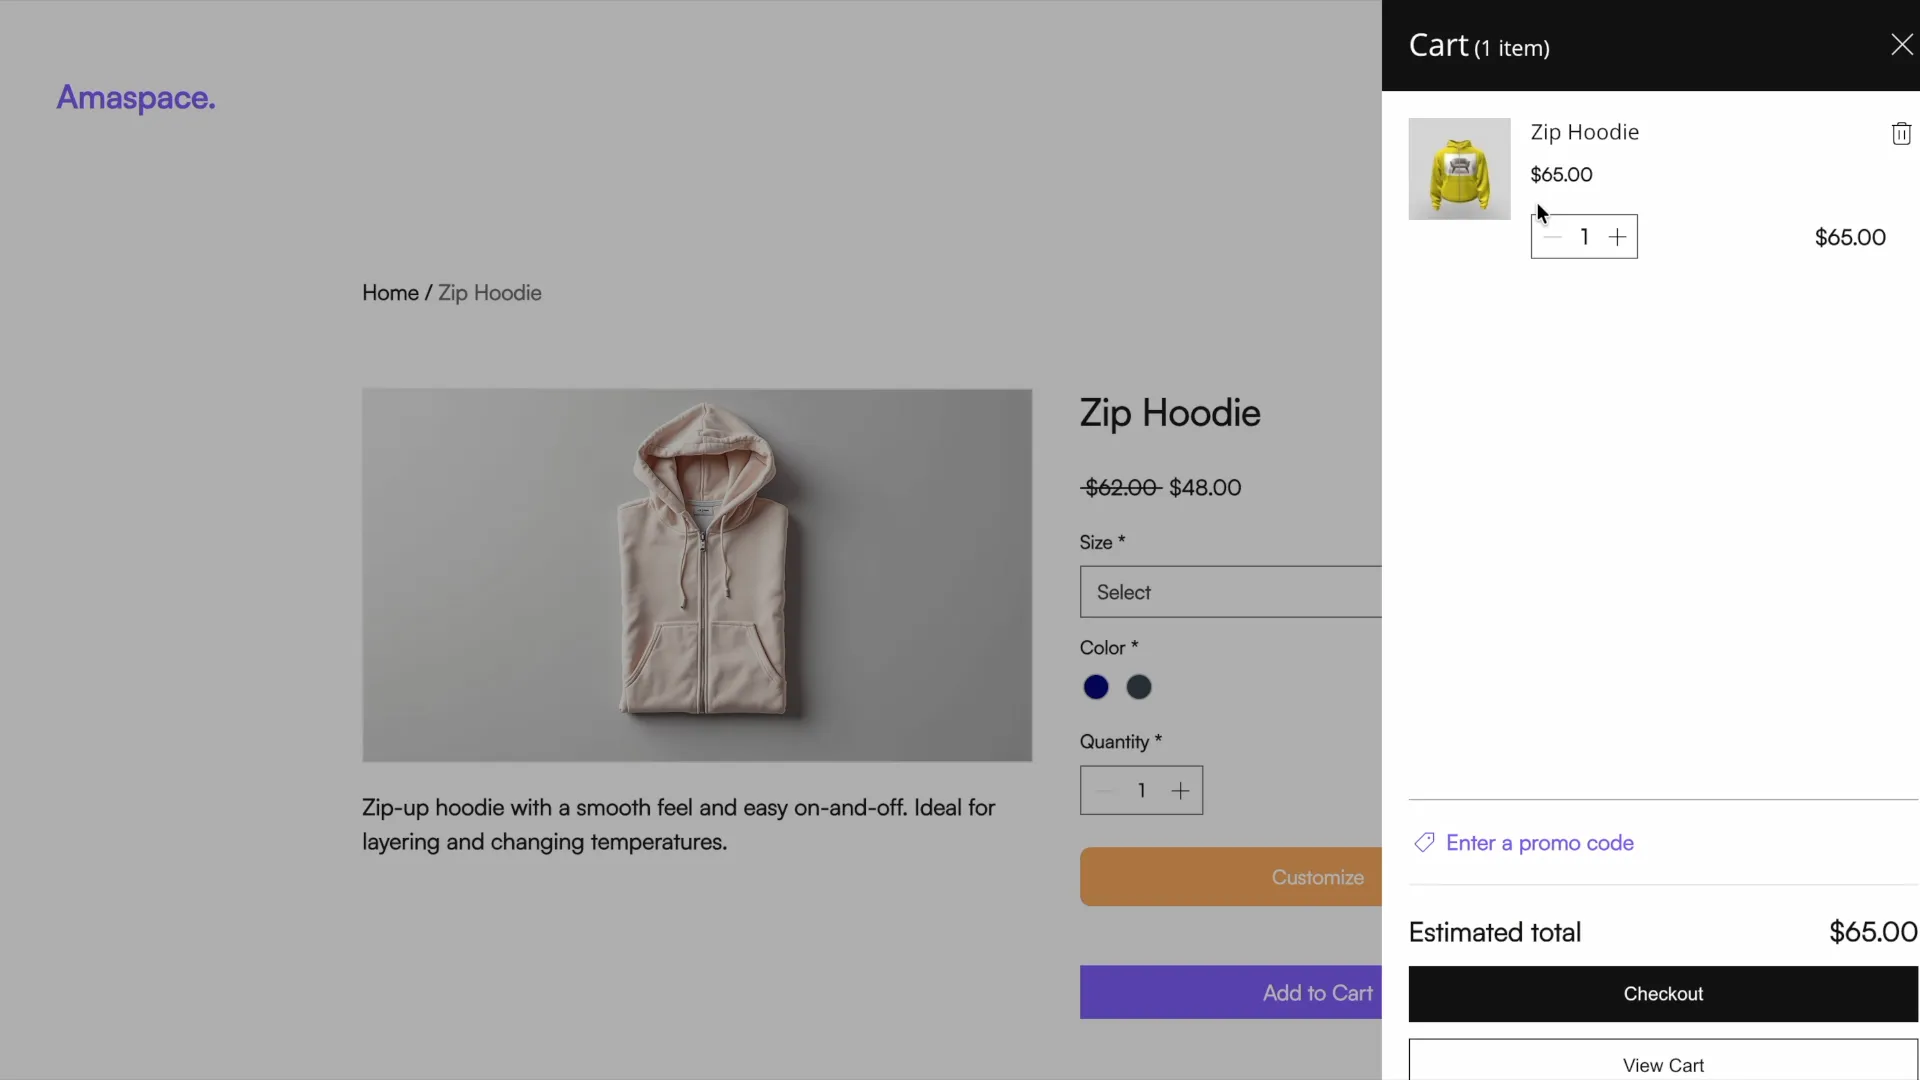
The customer sees a message confirming the product was added to the cart, and can open that item in the cart to preview it in 3D.
Step 5 — Find configured orders
-
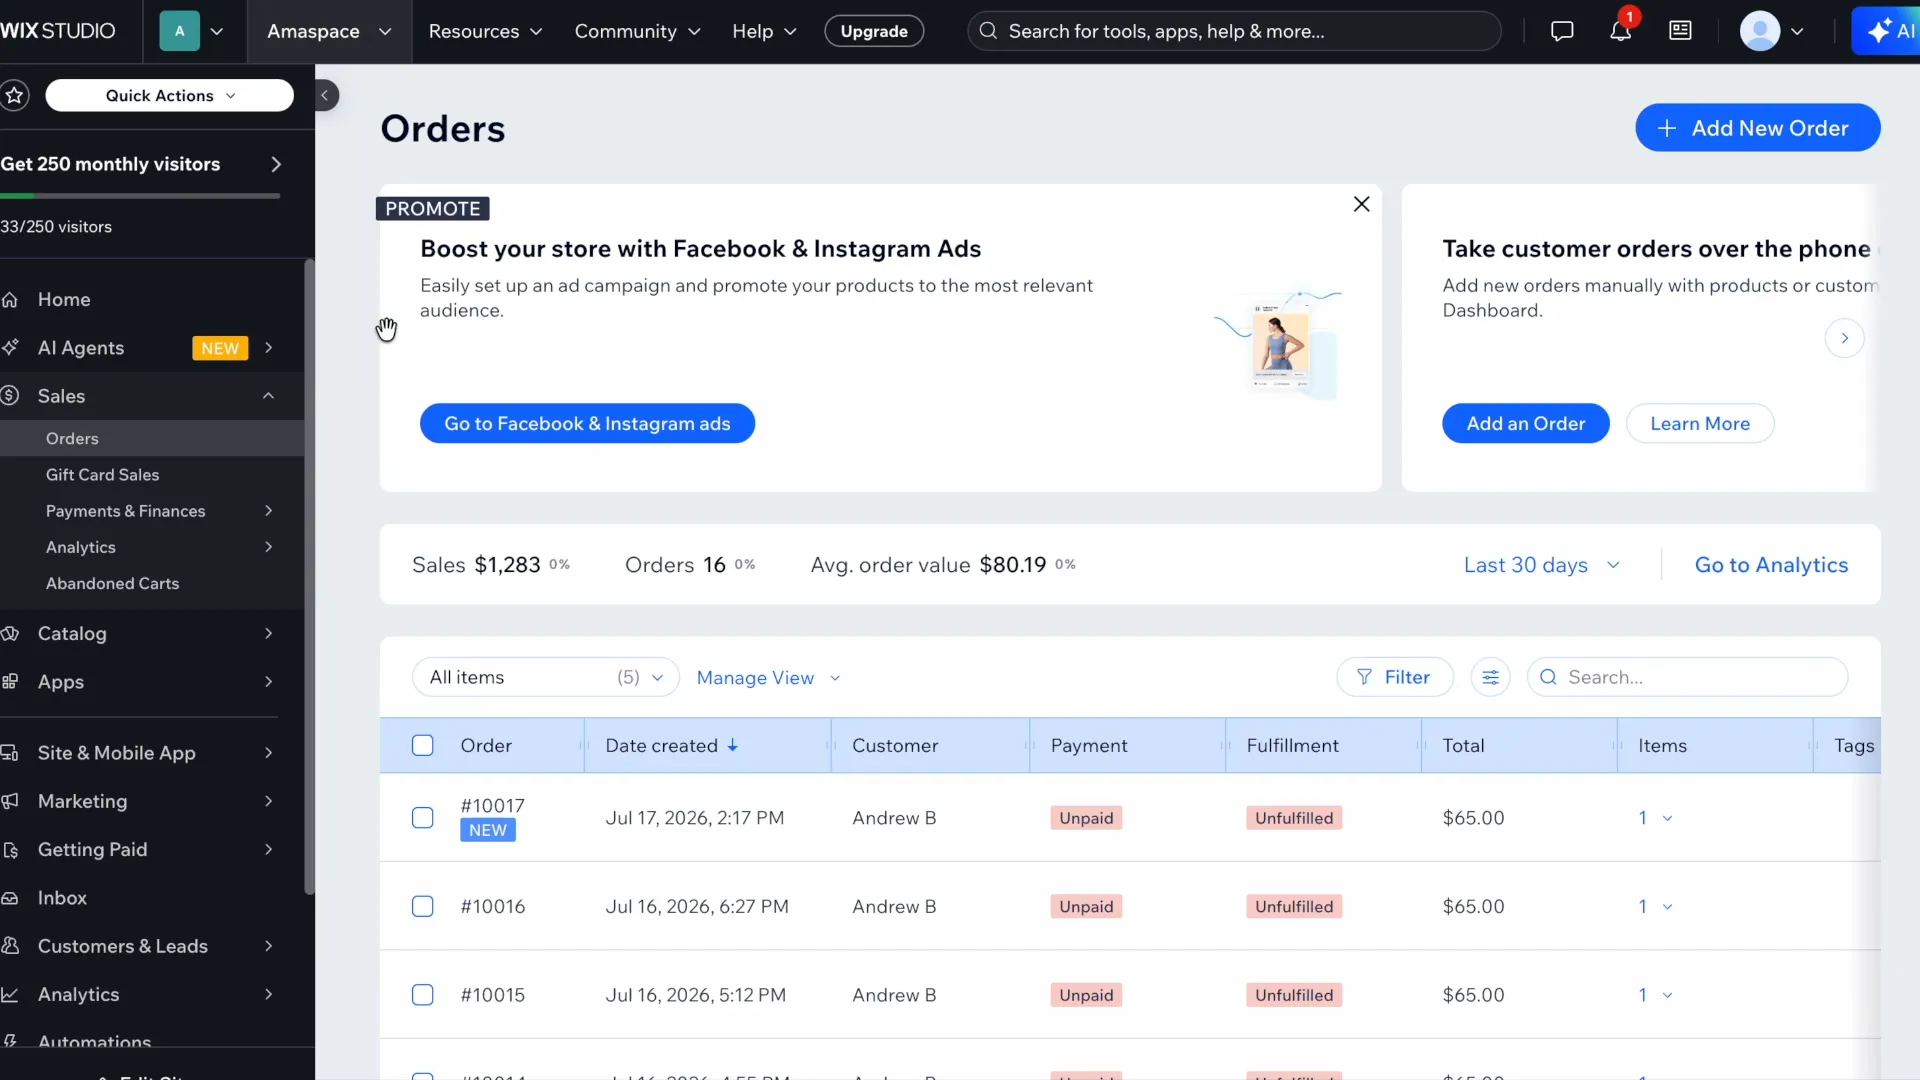
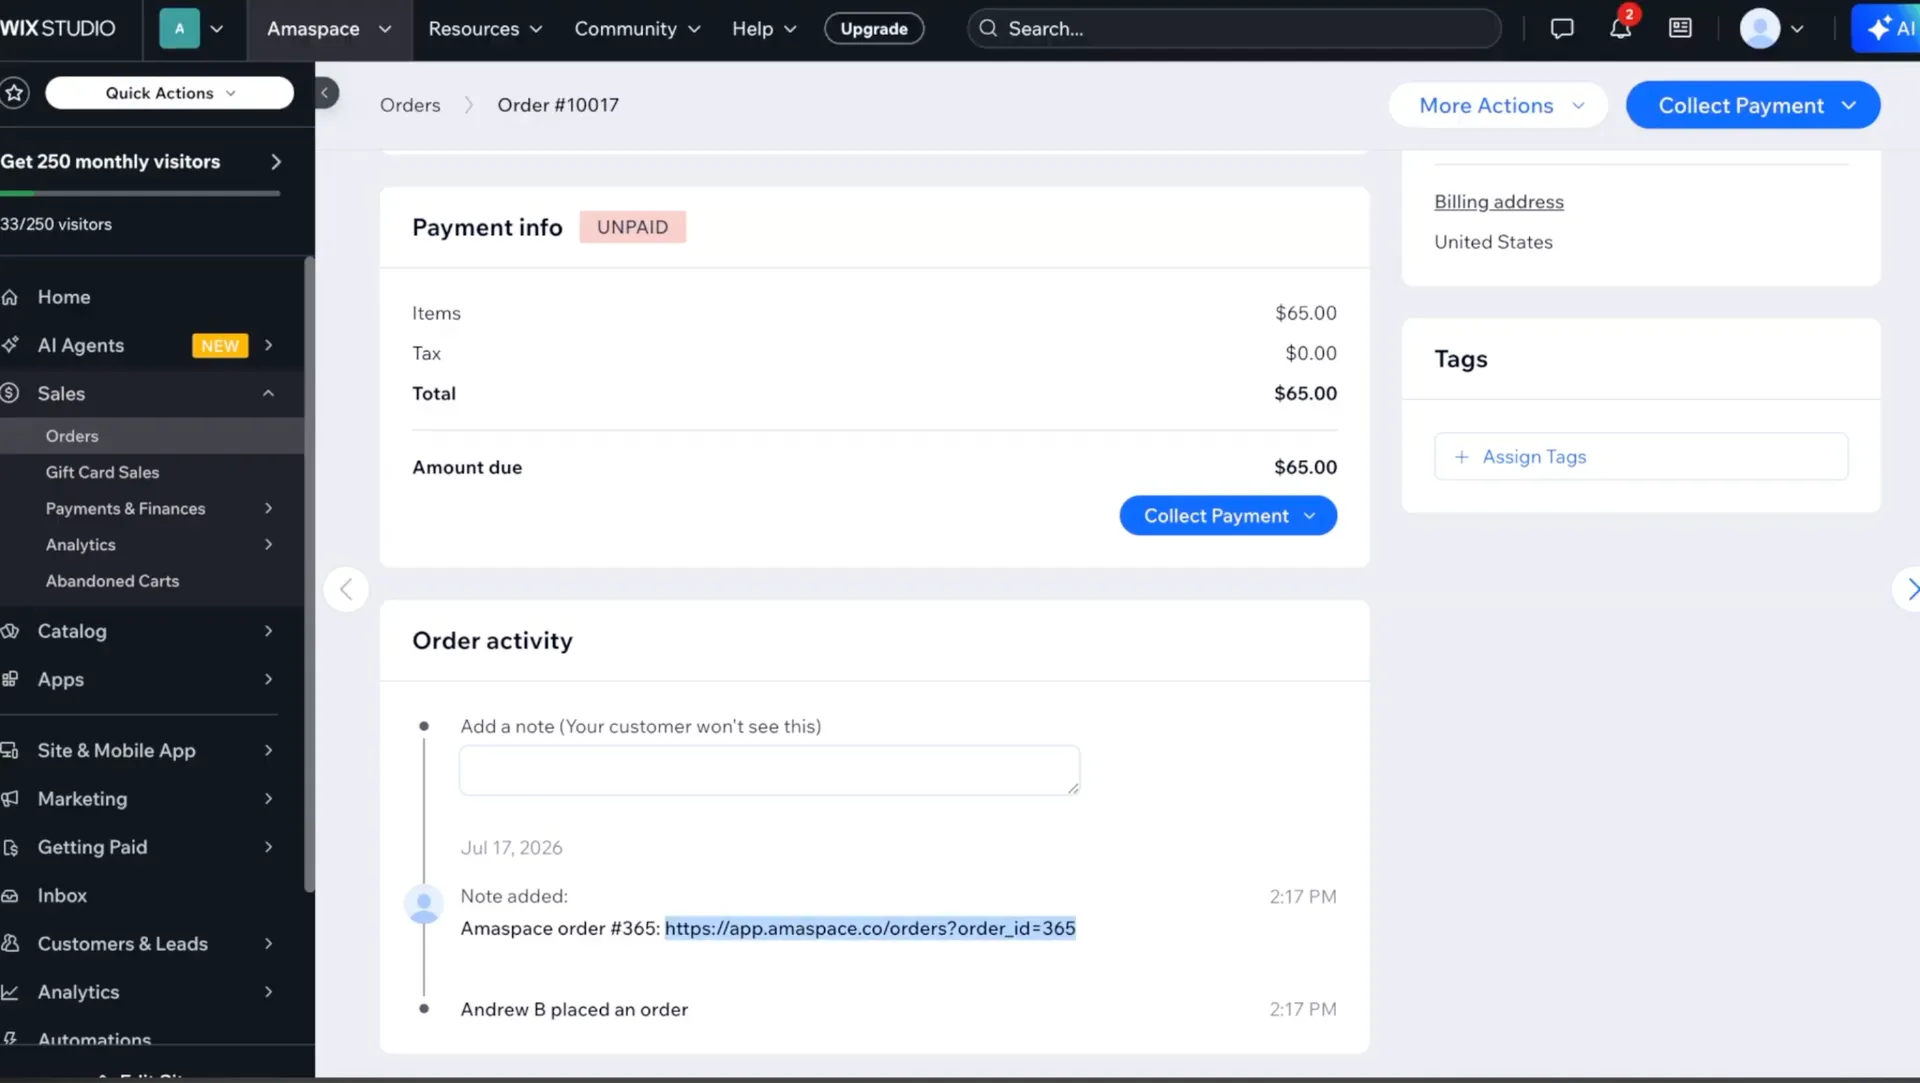
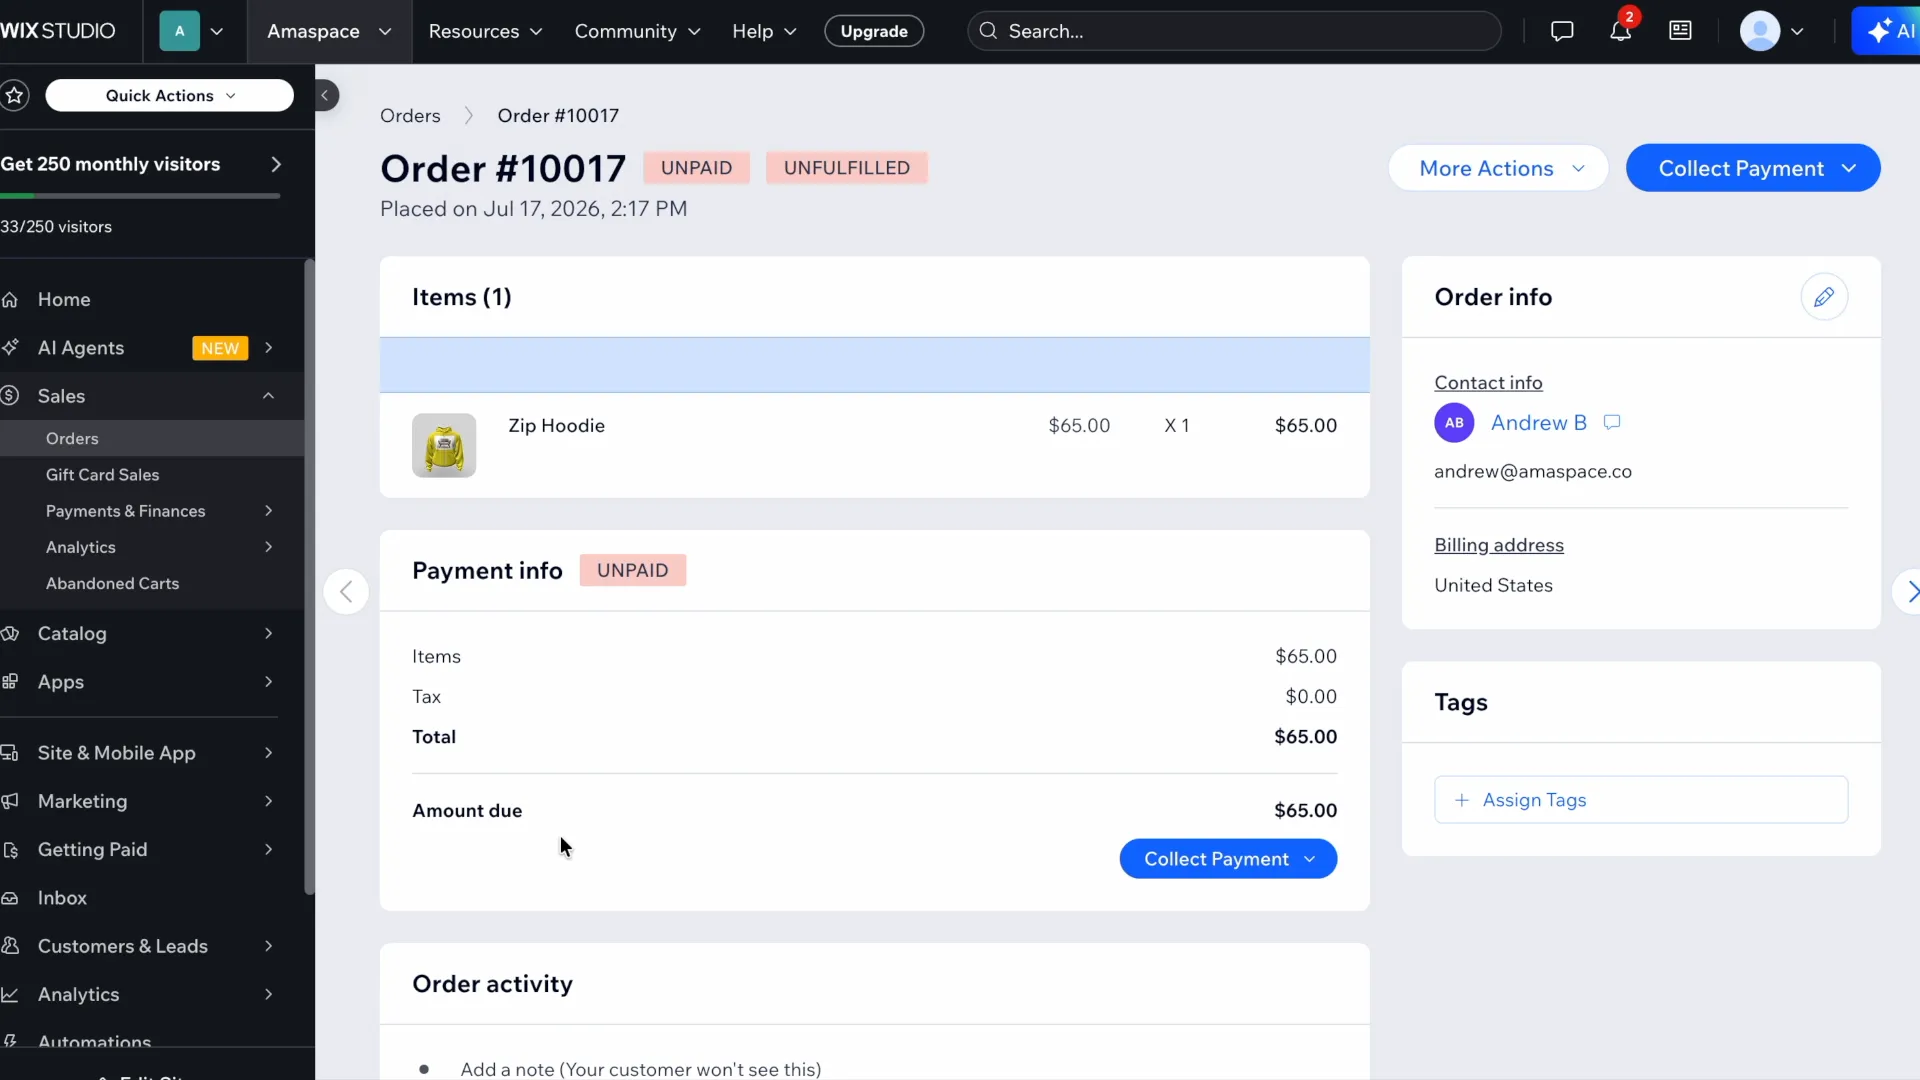
In the Wix dashboard go to Sales → Orders and open the new order.
-
Every order placed through the configurator carries a note in Order activity with a link to Amaspace.
-
The link shows all configured products, the selected options and the files uploaded by the customer.
-
You can also view the product in 3D exactly as the customer saw it before ordering.
Step 6 — Add the configurator to any page
-
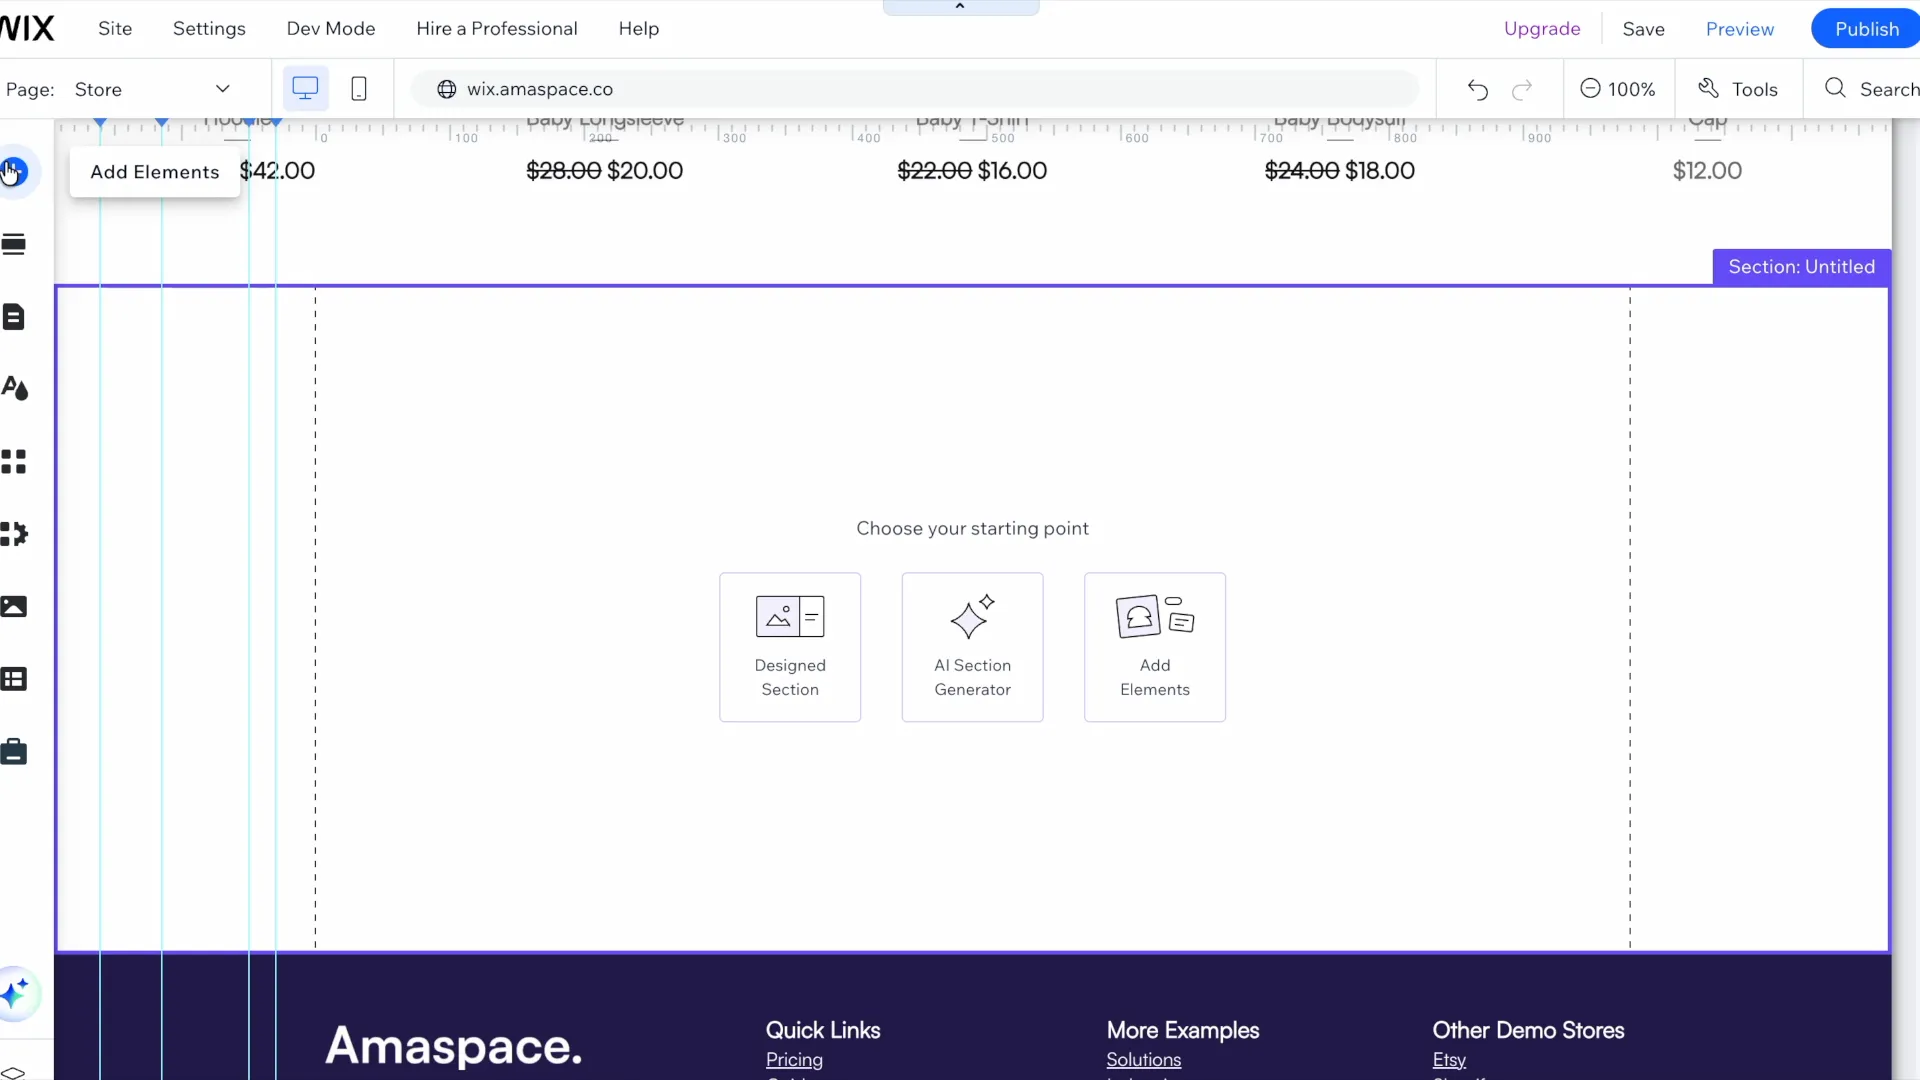
In the Wix editor open the page you want — home, landing, custom or product — and add a section.
-
Click Add Elements → App Widgets → Amaspace 3D Customizer.
-
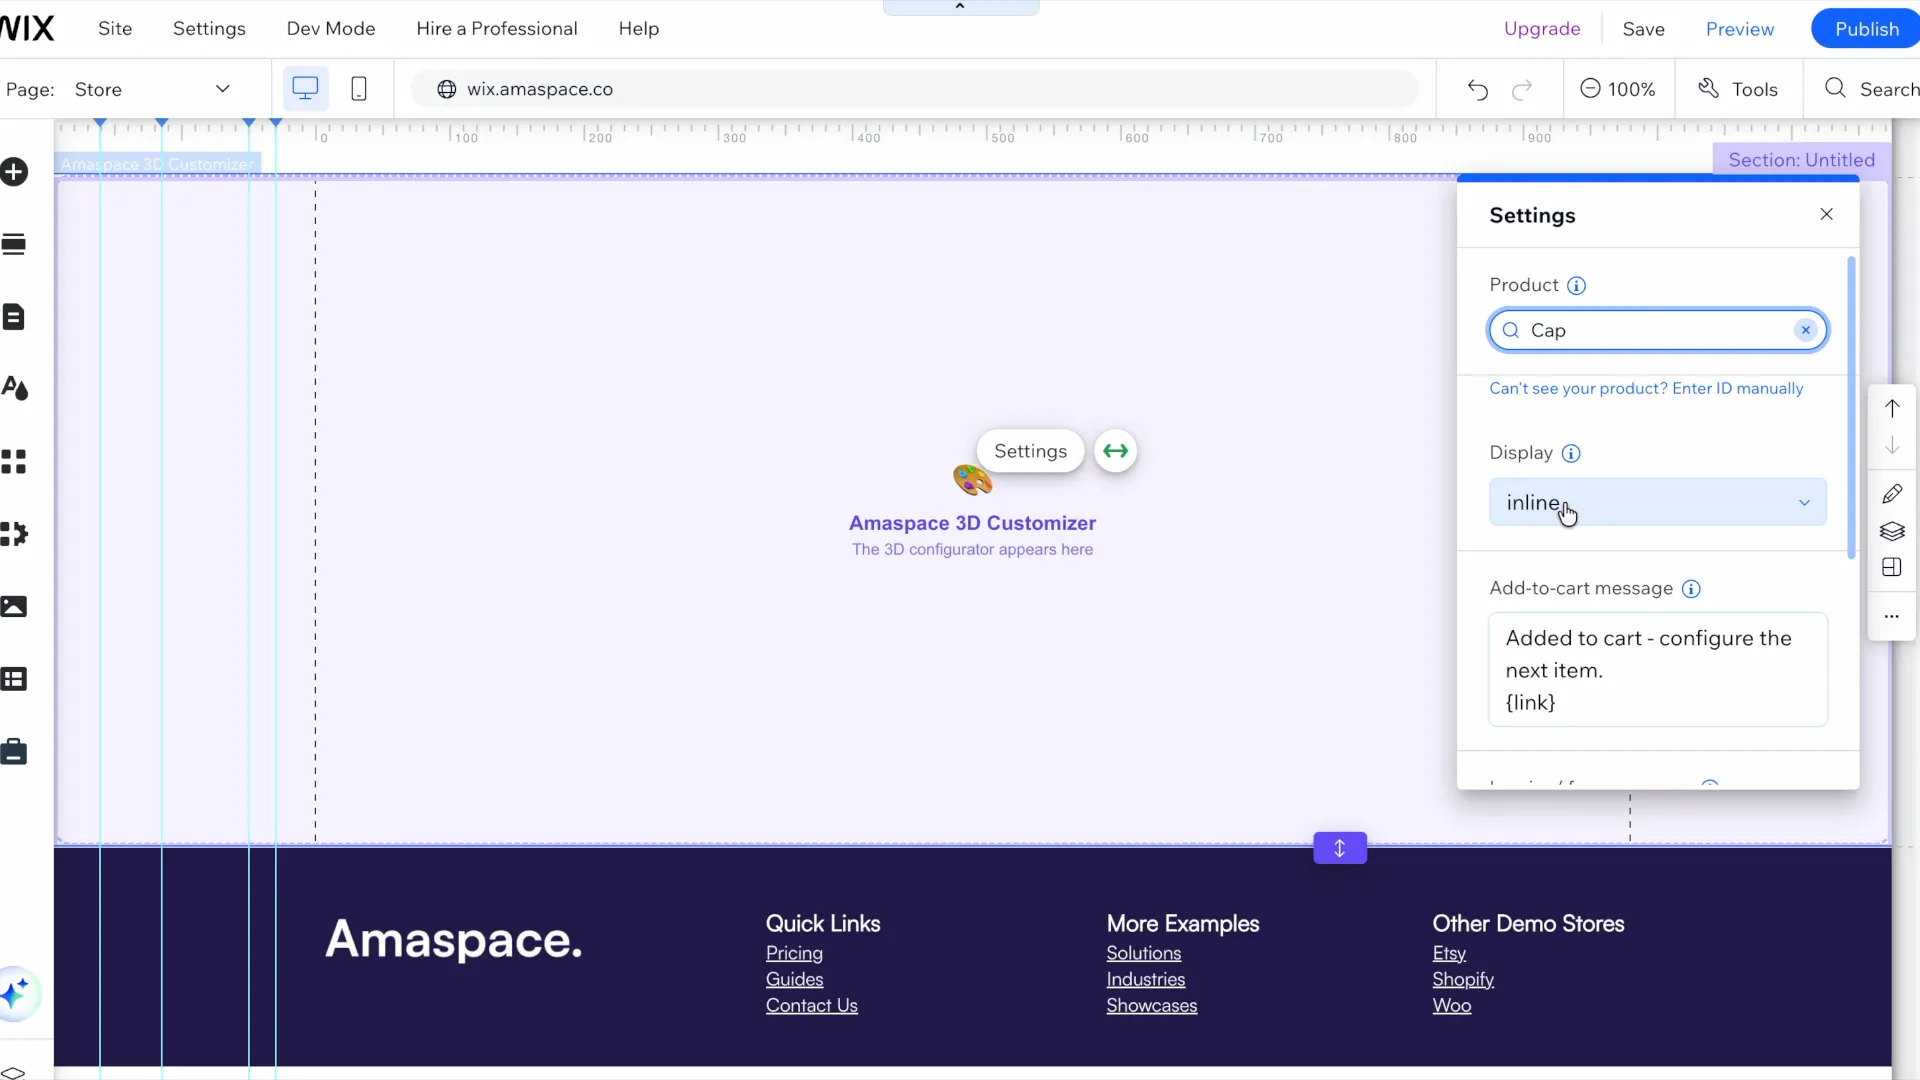
Open Settings and pick the product in the Product field. If it isn’t listed, use Enter ID manually and paste the Product ID from your Amaspace catalog.
-
In Display, choose button to show the same button as on a product page, or inline to render the configurator across the whole section.
-
Click Save, then Publish.
Step 7 — Your configurator is live
Your Amaspace configurator is now connected and visible in your Wix store.